本系列为 Three.js journey 教程学习笔记。
本节将使用我们之前学习的内容来创建一个鬼屋。我们会创建一个房子,有门、屋顶、和一些灌木,我们也会创建一些墓碑,还有幽灵的光飘过并产生投影。
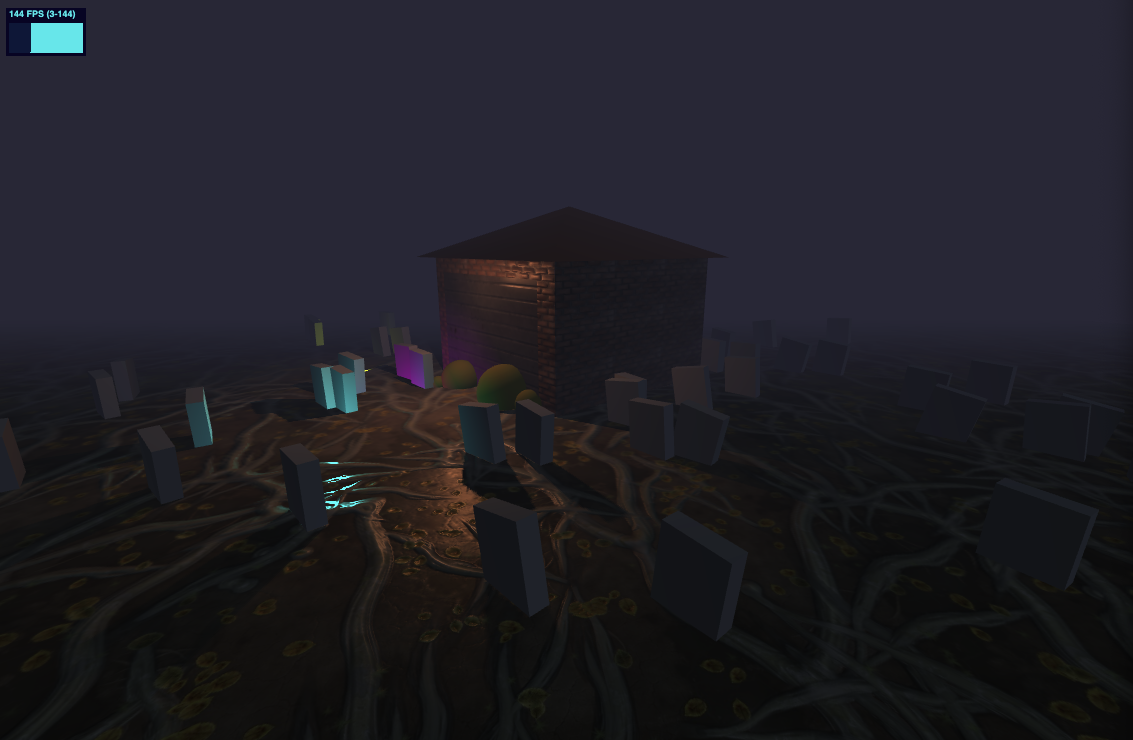
本节完成效果,在线 demo 链接
可扫码访问
| 二维码 | 手机截图 |
|---|---|
 |
 |
开始之前先约定一下关于长度单位的问题。
根据不同场景,我们可以认为1代表的长度不同,例如创建比较宏大的场景如陆地地图可以认为1代表1km,创建房屋可以认为1代表1m,创建小场景可以认为1代表1cm。接下来就开始吧
创建房屋
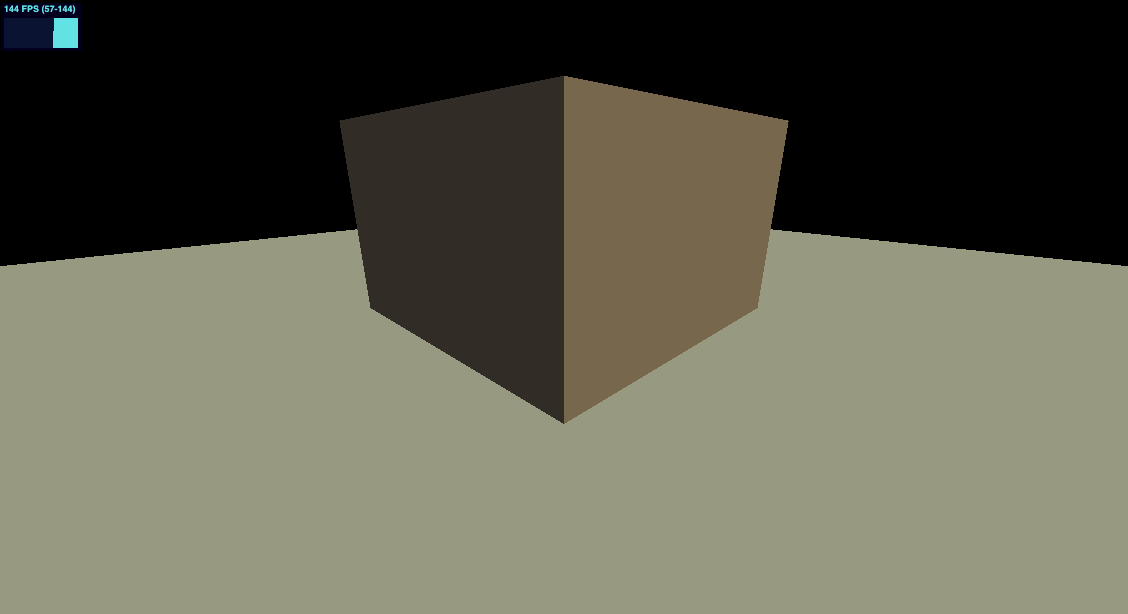
地面和墙壁
使用群组的方式来添加房屋,为了后续方便整体调整房屋大小
// house
const house = new THREE.Group()
scene.add(house)

// walls
const walls = new THREE.Mesh(
  new THREE.BoxGeometry(4, 2.5, 4),
  new THREE.MeshStandardMaterial({ color: '#ac8e82' })
)
walls.position.y = 1.25
house.add(walls)
再调整一下地面大小、光的位置和相机位置,效果和完整代码如下
import * as THREE from 'three'
import './style.css'
import { OrbitControls } from 'three/examples/jsm/controls/OrbitControls'
import stats from '../common/stats'
import { listenResize } from '../common/utils'

// Canvas
const canvas = document.querySelector('#mainCanvas') as HTMLCanvasElement

// Scene
const scene = new THREE.Scene()

/**
 * Objects
 */
// Material
const material = new THREE.MeshStandardMaterial()
material.metalness = 0
material.roughness = 0.4

// Objects
const plane = new THREE.Mesh(new THREE.PlaneGeometry(20, 20), material)
plane.rotation.set(-Math.PI / 2, 0, 0)
plane.position.set(0, 0, 0)

scene.add(plane)

// house
const house = new THREE.Group()
scene.add(house)

// walls
const walls = new THREE.Mesh(
  new THREE.BoxGeometry(4, 2.5, 4),
  new THREE.MeshStandardMaterial({ color: '#ac8e82' })
)
walls.position.y = 1.25
house.add(walls)

/**
 * Lights
 */
const ambientLight = new THREE.AmbientLight('#ffffff', 0.3)
scene.add(ambientLight)

const directionalLight = new THREE.DirectionalLight('#ffffaa', 0.5)
directionalLight.position.set(1, 0.75, 0)
scene.add(directionalLight)

// Size
const sizes = {
  width: window.innerWidth,
  height: window.innerHeight,
}

// Camera
const camera = new THREE.PerspectiveCamera(75, sizes.width / sizes.height, 0.1, 100)
camera.position.set(4, 2, 4)

const controls = new OrbitControls(camera, canvas)
controls.enableDamping = true

// Renderer
const renderer = new THREE.WebGLRenderer({
  canvas,
})
renderer.setSize(sizes.width, sizes.height)
renderer.setPixelRatio(Math.min(window.devicePixelRatio, 2))

listenResize(sizes, camera, renderer)

// Animations
const tick = () => {
  stats.begin()

  controls.update()

  // Render
  renderer.render(scene, camera)
  stats.end()
  requestAnimationFrame(tick)
}

tick()
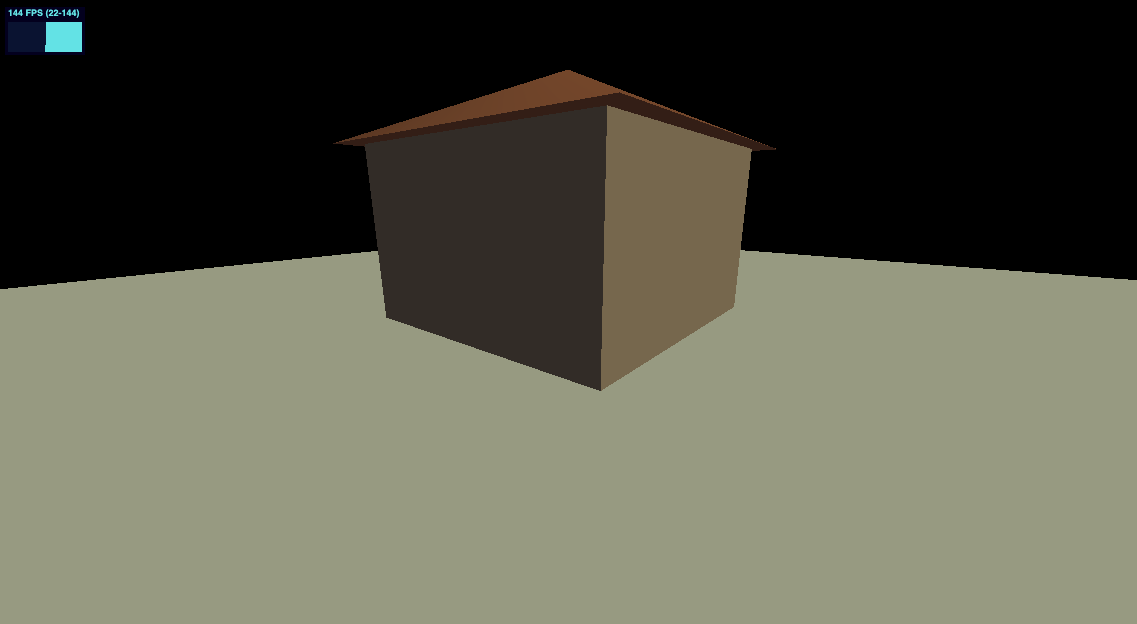
屋顶
我们使用 ConeGeometry 来做屋顶
// roof
const roof = new THREE.Mesh(
  new THREE.ConeGeometry(3.25, 1, 4),
  new THREE.MeshStandardMaterial({ color: '#b35f45' })
)
roof.rotation.y = Math.PI / 4
roof.position.y = 2.5 + 0.5
house.add(roof)
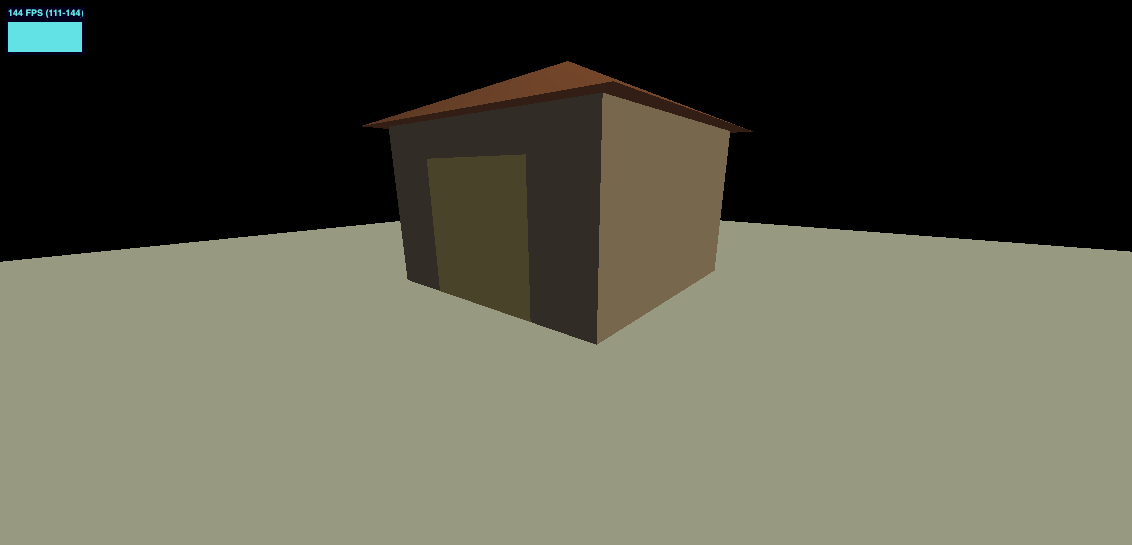
大门
增加门
// door
const door = new THREE.Mesh(
  new THREE.PlaneGeometry(2, 2),
  new THREE.MeshStandardMaterial({
    color: '#FFE082',
  }),
)
door.position.y = 1
door.position.z = 2 + 0.001
house.add(door)
可以看到 z 轴我们增加了一点点位移,这是因为如果相同的两个平面,WebGL 可能会产生一个 z-fighting 的 bug,导致闪动。
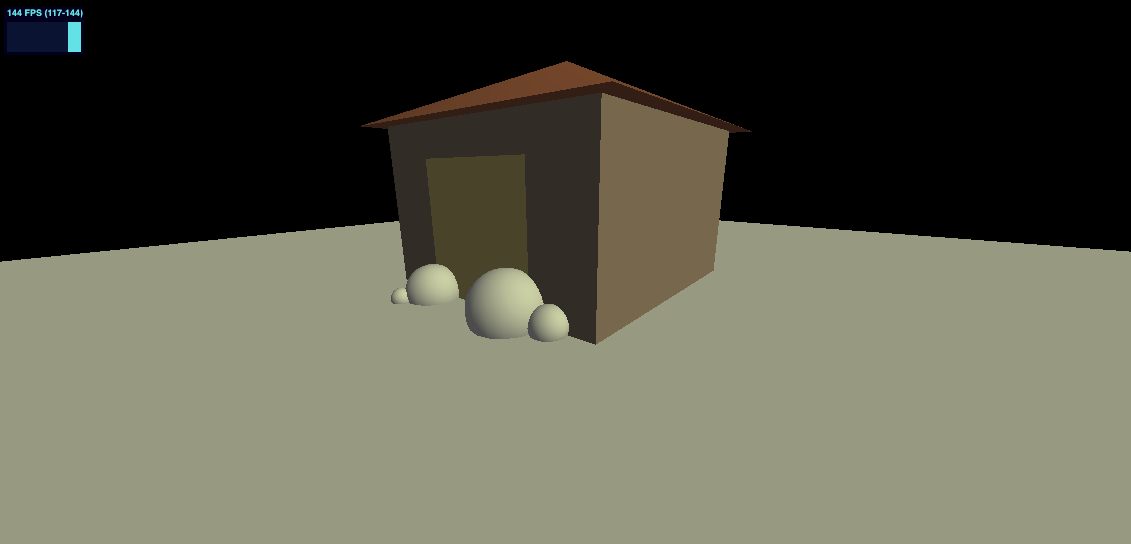
灌木丛
接下来在添加一些灌木丛,我们将使用球体,复用几何体和材质,只做放大和位移
// Bushes
const bushGeometry = new THREE.SphereGeometry(1, 16, 16)
const bushMaterial = new THREE.MeshStandardMaterial({ color: '#89c854' })
const bush1 = new THREE.Mesh(bushGeometry, bushMaterial)
bush1.scale.set(0.5, 0.5, 0.5)
bush1.position.set(0.8, 0.2, 2.2)

const bush2 = new THREE.Mesh(bushGeometry, bushMaterial)
bush2.scale.set(0.25, 0.25, 0.25)
bush2.position.set(1.4, 0.1, 2.1)

const bush3 = new THREE.Mesh(bushGeometry, bushMaterial)
bush3.scale.set(0.4, 0.4, 0.4)
bush3.position.set(-0.8, 0.1, 2.2)

const bush4 = new THREE.Mesh(bushGeometry, bushMaterial)
bush4.scale.set(0.15, 0.15, 0.15)
bush4.position.set(-1, 0.05, 2.6)

house.add(bush1, bush2, bush3, bush4)
墓碑群
我们使用代码实现墓碑的随机摆放
// graves
const graves = new THREE.Group()
scene.add(graves)

const graveGeometry = new THREE.BoxGeometry(0.6, 0.8, 0.2)
const graveMaterial = new THREE.MeshStandardMaterial({
  color: '#b2b6b1',
})

for (let i = 0; i < 50; i += 1) {
  const grave = new THREE.Mesh(graveGeometry, graveMaterial)
  const angle = Math.random() * Math.PI * 2
  const radius = 3 + Math.random() * 6
  const x = Math.cos(angle) * radius
  const z = Math.sin(angle) * radius
  grave.position.set(x, 0.3, z)
  grave.rotation.z = (Math.random() - 0.5) * 0.4
  grave.rotation.y = (Math.random() - 0.5) * 0.4
  graves.add(grave)
}

光
我们需要一些恐怖的光线效果,修改之前环境光和平行光,并增加大门顶部的点光源
/**
 * Lights
 */
const ambientLight = new THREE.AmbientLight('#b9d5ff', 0.12)
scene.add(ambientLight)

const directionalLight = new THREE.DirectionalLight('#b9d5ff', 0.12)
directionalLight.position.set(1, 0.75, 0)
scene.add(directionalLight)

// Door light
const doorLight = new THREE.PointLight('#ff7d46', 1, 7)
doorLight.position.set(0, 2.2, 2.7)
house.add(doorLight)
雾
Three.js 中内置了雾的效果,参见 Fog 类
其构造函数
Fog( color : Integer, near : Float, far : Float )
- near 开始应用雾的最小距离。距离小于活动摄像机“near”个单位的物体将不会被雾所影响。
- far 结束计算、应用雾的最大距离,距离大于活动摄像机“far”个单位的物体将不会被雾所影响。默认值是1000。
const fog = new THREE.Fog('#262837', 1, 15)
scene.fog = fog
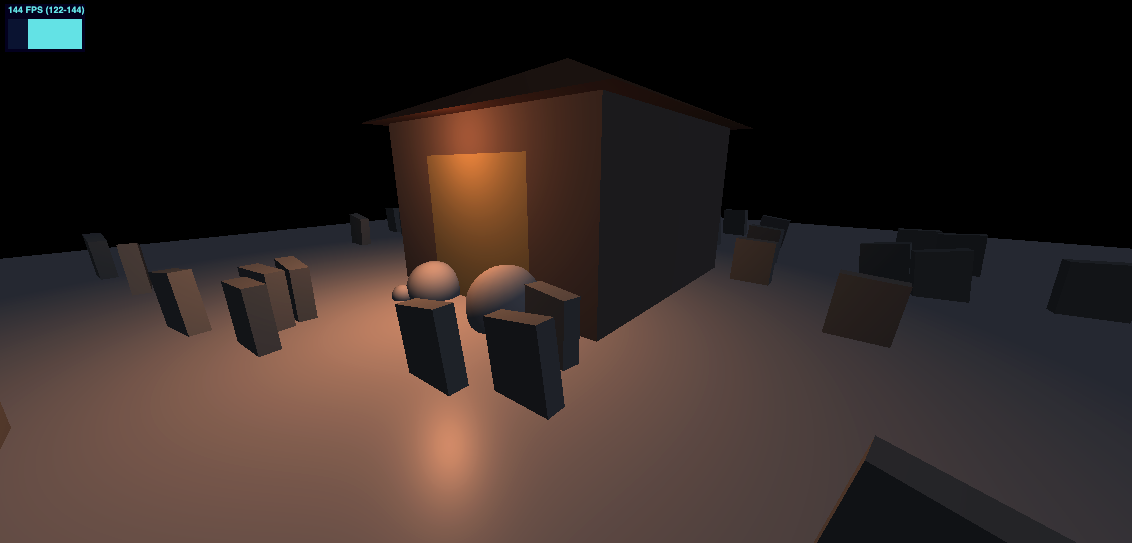
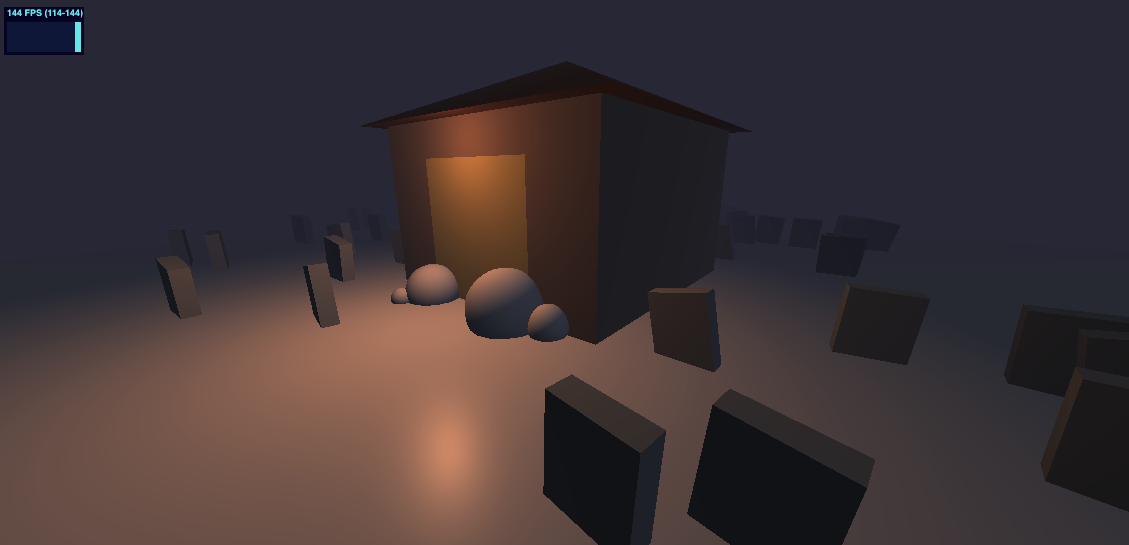
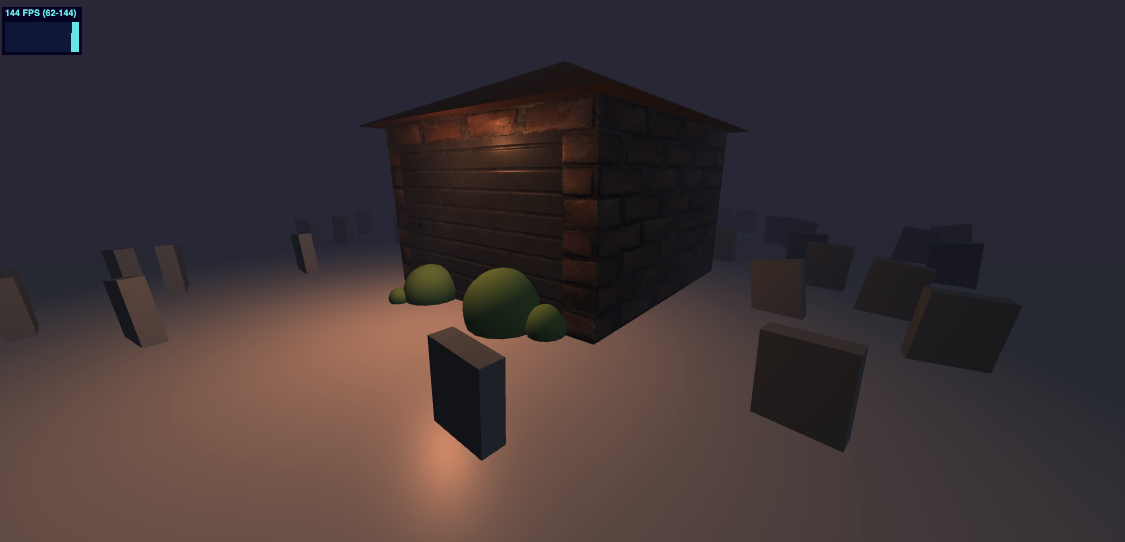
添加了 fog 后的效果
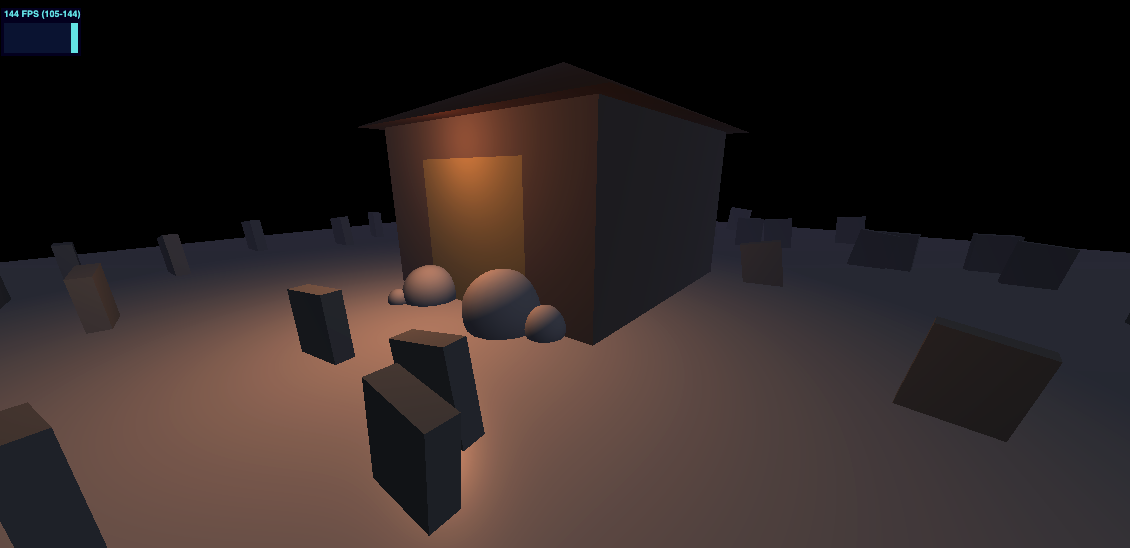
可以看到已经蒙上了一层雾,但画布的背景还是黑色的,我们需要改变画布背景色,将 renderer 的颜色设置为与雾相同
renderer.setClearColor('#262837')
贴图纹理
接下来我们添加纹理贴图,使用之前学到到 material 中的内容
// door
const door = new THREE.Mesh(
  new THREE.PlaneGeometry(2, 2, 100, 100),
  new THREE.MeshStandardMaterial({
    map: doorColorTexture,
    transparent: true,
    alphaMap: doorAlphaTexture,
    aoMap: doorAmbientOcclusionTexture,
    displacementMap: doorHeightTexture,
    displacementScale: 0.01,
    normalMap: doorNormalTexture,
    metalnessMap: doorMetalnessTexture,
    roughnessMap: doorRoughnessTexture,
  }),
)
door.geometry.setAttribute('uv2', new THREE.Float32BufferAttribute(door.geometry.attributes.uv.array, 2))
door.position.y = 1
door.position.z = 2 + 0.001
house.add(door)
看到门的贴图效果还不错
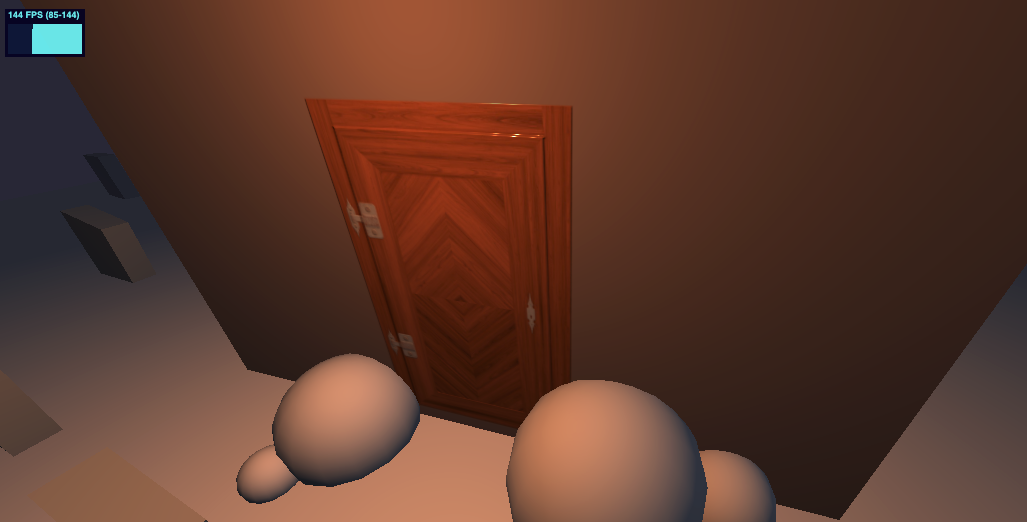
我们也可以尝试换一张贴图,并增加一些砖块
// Textures
const textureLoader = new THREE.TextureLoader()
const doorColorTexture = textureLoader.load('../assets/textures/door2/baseColor.jpg')
const doorAmbientOcclusionTexture = textureLoader.load(
  '../assets/textures/door2/ambientOcclusion.jpg'
)
const doorHeightTexture = textureLoader.load('../assets/textures/door2/height.png')
const doorNormalTexture = textureLoader.load('../assets/textures/door2/normal.jpg')
const doorMetalnessTexture = textureLoader.load('../assets/textures/door2/metalness.jpg')
const doorRoughnessTexture = textureLoader.load('../assets/textures/door2/roughness.jpg')

const brickColorTexture = textureLoader.load('../assets/textures/brick/baseColor.jpg')

const brickAmbientOcclusionTexture = textureLoader.load(
  '../assets/textures/brick/ambientOcclusion.jpg'
)
const brickHeightTexture = textureLoader.load('../assets/textures/brick/height.png')
const brickNormalTexture = textureLoader.load('../assets/textures/brick/normal.jpg')
const brickRoughnessTexture = textureLoader.load('../assets/textures/door2/roughness.jpg')

...

// walls
const walls = new THREE.Mesh(
  new THREE.BoxGeometry(4, 2.5, 4, 200, 200),
  new THREE.MeshStandardMaterial({
    map: brickColorTexture,
    aoMap: brickAmbientOcclusionTexture,
    displacementMap: brickHeightTexture,
    displacementScale: 0.001,
    normalMap: brickNormalTexture,
    roughnessMap: brickRoughnessTexture,
  })
)
walls.position.y = 1.25
house.add(walls)

// door
const door = new THREE.Mesh(
  new THREE.PlaneGeometry(2, 2, 100, 100),
  new THREE.MeshStandardMaterial({
    map: doorColorTexture,
    transparent: true,
    // alphaMap: doorAlphaTexture,
    aoMap: doorAmbientOcclusionTexture,
    displacementMap: doorHeightTexture,
    displacementScale: 0.04,
    normalMap: doorNormalTexture,
    metalnessMap: doorMetalnessTexture,
    roughnessMap: doorRoughnessTexture,
  })
)
door.geometry.setAttribute(
  'uv2',
  new THREE.Float32BufferAttribute(door.geometry.attributes.uv.array, 2)
)
door.position.y = 1
door.position.z = 2 + 0.001
house.add(door)
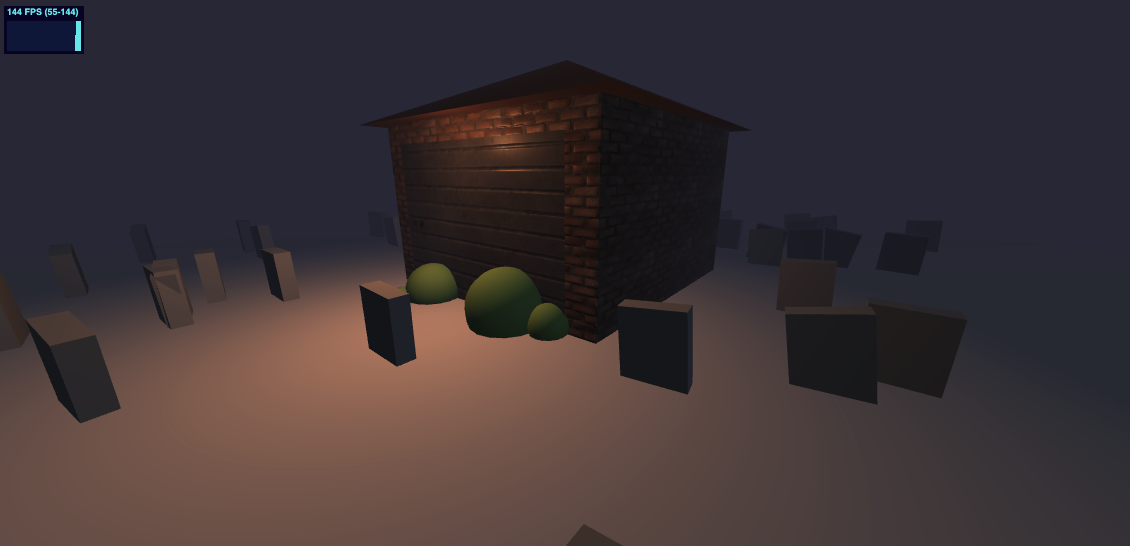
效果如下
砖块可能太大了,我们可以将其 repeat,记得所有的纹理都要一起 repeat
brickColorTexture.repeat.set(3, 3)
brickAmbientOcclusionTexture.repeat.set(3, 3)
brickHeightTexture.repeat.set(3, 3)
brickNormalTexture.repeat.set(3, 3)
brickRoughnessTexture.repeat.set(3, 3)

brickColorTexture.wrapS = THREE.RepeatWrapping
brickAmbientOcclusionTexture.wrapS = THREE.RepeatWrapping
brickHeightTexture.wrapS = THREE.RepeatWrapping
brickNormalTexture.wrapS = THREE.RepeatWrapping
brickRoughnessTexture.wrapS = THREE.RepeatWrapping

brickColorTexture.wrapT = THREE.RepeatWrapping
brickAmbientOcclusionTexture.wrapT = THREE.RepeatWrapping
brickHeightTexture.wrapT = THREE.RepeatWrapping
brickNormalTexture.wrapT = THREE.RepeatWrapping
brickRoughnessTexture.wrapT = THREE.RepeatWrapping
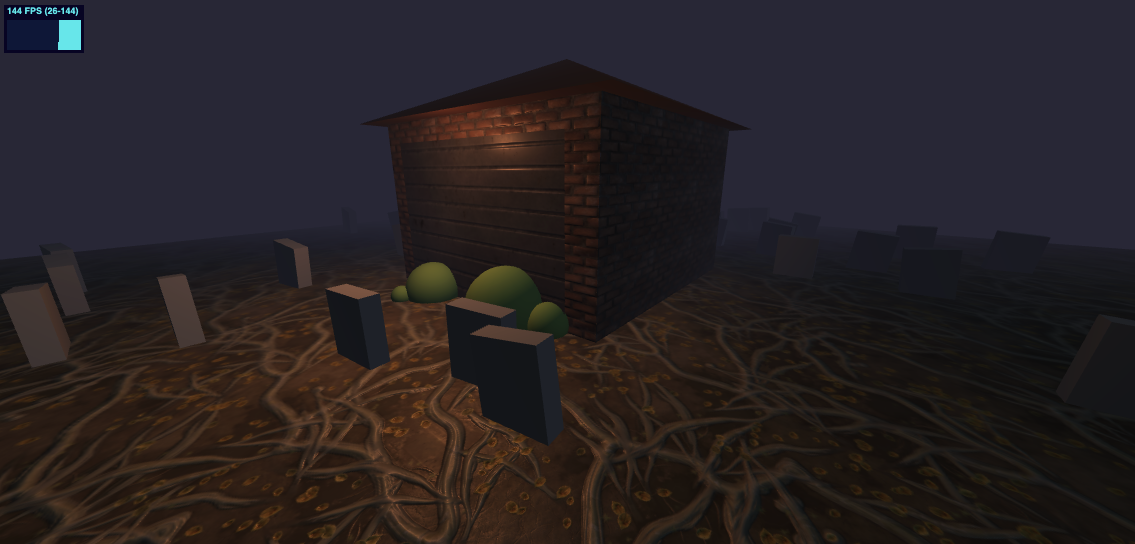
增加一些地面的纹理
const floorColorTexture = textureLoader.load('../assets/textures/floor/baseColor.jpg')
const floorAmbientOcclusionTexture = textureLoader.load(
  '../assets/textures/floor/ambientOcclusion.jpg',
)
const floorHeightTexture = textureLoader.load('../assets/textures/floor/height.png')
const floorNormalTexture = textureLoader.load('../assets/textures/floor/normal.jpg')
const floorRoughnessTexture = textureLoader.load('../assets/textures/door2/roughness.jpg')
floorColorTexture.repeat.set(8, 8)
floorAmbientOcclusionTexture.repeat.set(8, 8)
floorHeightTexture.repeat.set(8, 8)
floorNormalTexture.repeat.set(8, 8)
floorRoughnessTexture.repeat.set(8, 8)

floorColorTexture.wrapS = THREE.RepeatWrapping
floorAmbientOcclusionTexture.wrapS = THREE.RepeatWrapping
floorHeightTexture.wrapS = THREE.RepeatWrapping
floorNormalTexture.wrapS = THREE.RepeatWrapping
floorRoughnessTexture.wrapS = THREE.RepeatWrapping

floorColorTexture.wrapT = THREE.RepeatWrapping
floorAmbientOcclusionTexture.wrapT = THREE.RepeatWrapping
floorHeightTexture.wrapT = THREE.RepeatWrapping
floorNormalTexture.wrapT = THREE.RepeatWrapping
floorRoughnessTexture.wrapT = THREE.RepeatWrapping

// ground
const plane = new THREE.Mesh(
  new THREE.PlaneGeometry(40, 40),
  new THREE.MeshStandardMaterial({
    map: floorColorTexture,
    aoMap: floorAmbientOcclusionTexture,
    displacementMap: floorHeightTexture,
    displacementScale: 0.01,
    normalMap: floorNormalTexture,
    roughnessMap: floorRoughnessTexture,
  }),
)
plane.rotation.set(-Math.PI / 2, 0, 0)
plane.position.set(0, 0, 0)
scene.add(plane)
添加幽灵光
使用点光源作为幽灵光
/**
 * Ghosts
 */
const ghost1 = new THREE.PointLight('#ff00ff', 2, 3)
scene.add(ghost1)

const ghost2 = new THREE.PointLight('#00ffff', 2, 3)
scene.add(ghost2)

const ghost3 = new THREE.PointLight('#ffff00', 2, 3)
scene.add(ghost3)
增加一些动画
// Animations
const clock = new THREE.Clock()
const tick = () => {
  stats.begin()

  const elapsedTime = clock.getElapsedTime()

  // Ghosts
  const ghost1Angle = elapsedTime * 0.5
  ghost1.position.x = Math.cos(ghost1Angle) * 4
  ghost1.position.z = Math.sin(ghost1Angle) * 4
  ghost1.position.y = Math.sin(elapsedTime * 3)

  const ghost2Angle = -elapsedTime * 0.32
  ghost2.position.x = Math.cos(ghost2Angle) * 5
  ghost2.position.z = Math.sin(ghost2Angle) * 5
  ghost2.position.y = Math.sin(elapsedTime * 4) + Math.sin(elapsedTime * 2.5)

  const ghost3Angle = -elapsedTime * 0.18
  ghost3.position.x = Math.cos(ghost3Angle) * (7 + Math.sin(elapsedTime * 0.32))
  ghost3.position.z = Math.sin(ghost3Angle) * (7 + Math.sin(elapsedTime * 0.5))
  ghost3.position.y = Math.sin(elapsedTime * 4) + Math.sin(elapsedTime * 2.5)

  controls.update()

  // Render
  renderer.render(scene, camera)
  stats.end()
  requestAnimationFrame(tick)
}
开启投影
使用上一节学到的内容开启投影。
renderer 打开 shadowMap
renderer.shadowMap.enabled = true
并设置产生投影和接受投影的物体
directionalLight.castShadow = true
doorLight.castShadow = true
ghost1.castShadow = true
ghost2.castShadow = true
ghost3.castShadow = true

walls.castShadow = true
bush1.castShadow = true
bush2.castShadow = true
bush3.castShadow = true
bush4.castShadow = true

plane.receiveShadow = true
在 for 循环中为墓碑也打开投影
grave.castShadow = true
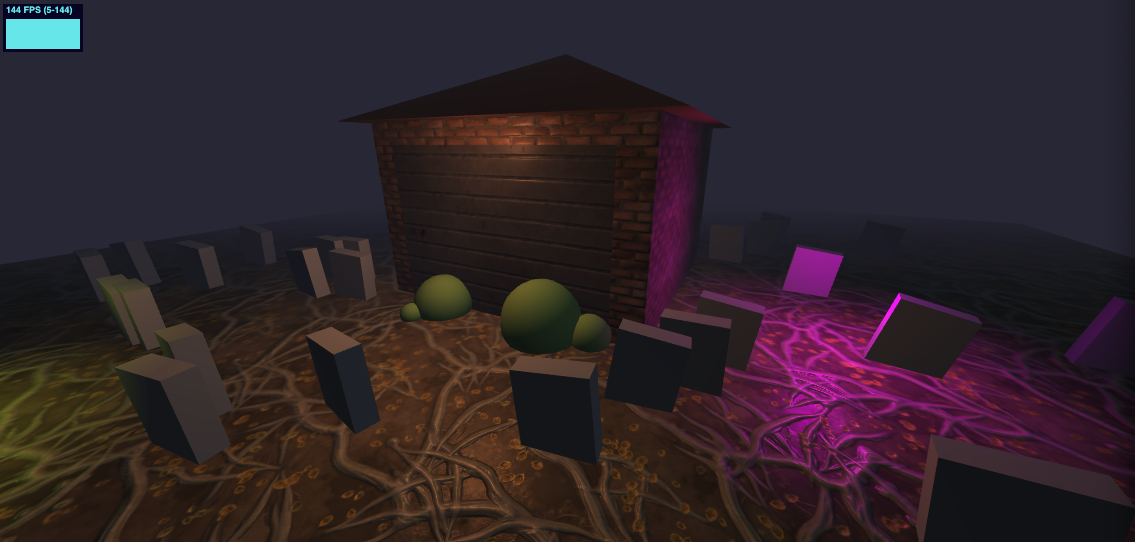
效果如下

在线 demo 链接
可扫码访问
小结
本节使用前面所学知识实现了一个完整的 demo,当然这个 demo 还有很多可以优化的地方,比如墓碑上的字,墓碑不重叠的算法,增加音效等。读者有兴趣可以试着添加深入研究,比如最后我又加了些恐怖的音效。