- 物理引擎与 Three.js 之间的结合
- 物理引擎库
- Import Cannon.js
- Cannon-es
- 施加外力 Apply Forces
- 处理多个物体
- 增加立方体
- 性能优化
- Events 事件
- 移除物体
- 小结
本系列为 Three.js journey 教程学习笔记。
physics 物理引擎
在 WebGL 里使用物理引擎是非常棒的一种体验,人们会非常享受与这些物体产生物理效果,例如重力、弹性、加速度、摩擦力、碰撞等。有很多方式实现物理效果,并且取决于项目中想怎么使用。如果只是简单物理效果,可以使用数学(三角函数)和 Raycaster 来实现,但复杂效果,还是非常建议送一个物理引擎相关的库。
物理引擎与 Three.js 之间的结合
Three.js 创建了一个 3d 世界,我们再通过物理引擎创建一个物理世界,在物理世界中存在着纯物理体系(牛顿力学、万有引力、胡克弹性定律等),然后将物理世界中的几何体运动每帧坐标映射到 Three.js 3d 世界中,就可以进行实现物理效果的运动了。
其复杂点在于如何组织代码。接下来我们就从最简单的开始学起。
物理引擎库
关于物理引擎有非常多的库。首先要选择是需要一个 3d 还是 2d 的物理引擎库。你可能会认为既然使用了 Three.js 那一定是 3d 库了,那你就错了,如果你要表现的物理场景只需要在二维平面上展示(例如3d场景中有个电视在播放一些物理效果,或者你需要开发台球游戏),那么当然是选择 2d 的物理引擎,其性能会远好于 3d 引擎。
接下来就介绍几个物理引擎。
3d 物理引擎
| Ammo.js | Cannon.js | Oimo.js | |
|---|---|---|---|
| web site | Ammo.js | Cannon.js | Oimo.js |
| docs | none | link | link |
| light or heavy | A little heavy | Lighter than Ammo.js | Lighter than Ammo.js |
| maintain | Still updated by a community | Mostly maintained by one developer | Mostly maintained by one developer |
| others | Bullet 物理引擎转换而来 | There is a maintained fork, cannon-es 由开源社区维护 | Hasn’t been updated for 2 years |
2d 物理引擎
| Matter.js | P2.js | Planck.js | Box2d.js | |
|---|---|---|---|---|
| web site | link | link | link | link |
| docs | link | link | link | none |
| maintain | Mostly maintained by one developer | Mostly maintained by one developer | Mostly maintained by one developer | Mostly maintained by one developer |
| update | Still kind of updated | Hasn’t been update for 2 years | Still updated nowadays | Still updated nowadays |
本节课我们暂时不会使用 2d 物理引擎,但是用2d引擎的代码与3d会非常相似,主要的区别是少了一个坐标轴。
接下来我们就以 Cannon.js 为例进行学习。
Import Cannon.js
npm i -S cannon
npm i -D @types/cannon
因为我使用 ts 开发,所以也安装了它的类型
import CANNON from 'cannon'
准备工作
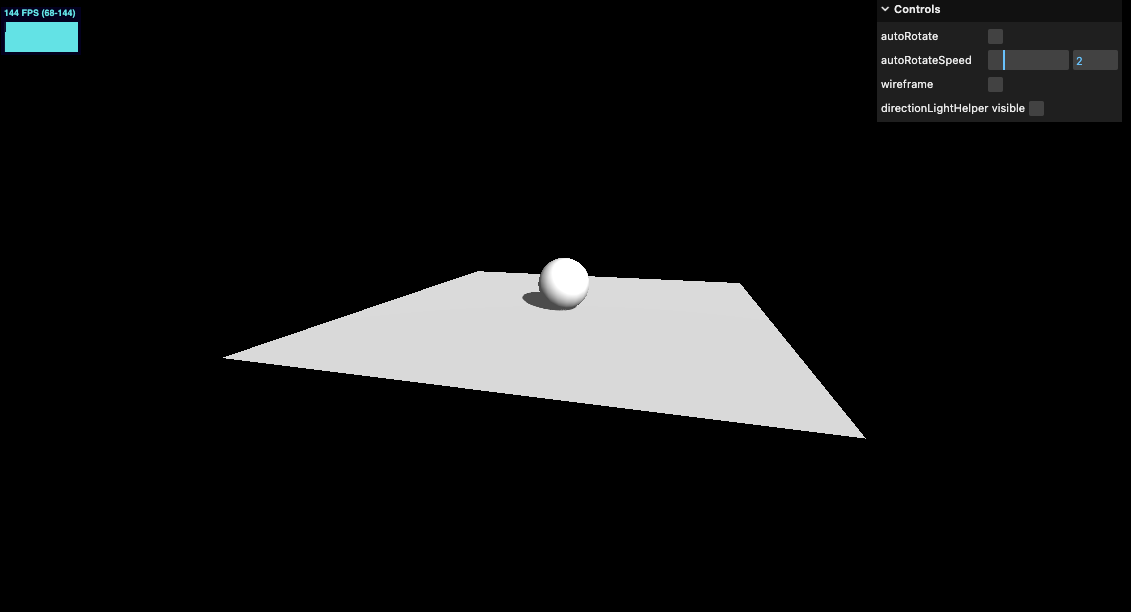
我们创建一个平面和一个小球,并增加光影,后续将结合物理引擎将小球抛落。
import * as THREE from 'three'
import './style.css'
import { OrbitControls } from 'three/examples/jsm/controls/OrbitControls'
import * as dat from 'lil-gui'
import stats from '../common/stats'
import { listenResize, dbClkfullScreen } from '../common/utils'

// Canvas
const canvas = document.querySelector('#mainCanvas') as HTMLCanvasElement

// Scene
const scene = new THREE.Scene()

// Size
const sizes = {
  width: window.innerWidth,
  height: window.innerHeight,
}

// Camera
const camera = new THREE.PerspectiveCamera(75, sizes.width / sizes.height, 0.1, 100)
camera.position.set(4, 4, 15)

// Controls
const controls = new OrbitControls(camera, canvas)
controls.enableDamping = true
controls.zoomSpeed = 0.3

/**
 * Objects
 */
// material
const material = new THREE.MeshStandardMaterial()

// sphere
const sphere = new THREE.Mesh(new THREE.SphereGeometry(1, 16, 16), material)
sphere.position.setY(1)
sphere.castShadow = true
scene.add(sphere)

// plane
const plane = new THREE.Mesh(new THREE.PlaneGeometry(15, 15), material)
plane.rotateX(-Math.PI / 2)
plane.receiveShadow = true
scene.add(plane)

/**
 * Light
 */
const directionLight = new THREE.DirectionalLight()
directionLight.castShadow = true
directionLight.position.set(5, 5, 6)
const ambientLight = new THREE.AmbientLight(new THREE.Color('#ffffff'), 0.3)
scene.add(ambientLight, directionLight)

const directionLightHelper = new THREE.DirectionalLightHelper(directionLight, 2)
directionLightHelper.visible = false
scene.add(directionLightHelper)

// Renderer
const renderer = new THREE.WebGLRenderer({
  canvas,
  // antialias: true,
})
renderer.setSize(sizes.width, sizes.height)
renderer.setPixelRatio(Math.min(window.devicePixelRatio, 2))
renderer.shadowMap.enabled = true

// Animations
const tick = () => {
  stats.begin()
  controls.update()

  // Render
  renderer.render(scene, camera)
  stats.end()
  requestAnimationFrame(tick)
}

tick()

listenResize(sizes, camera, renderer)
dbClkfullScreen(document.documentElement)

/**
 * Debug
 */
const gui = new dat.GUI()
gui.add(controls, 'autoRotate')
gui.add(controls, 'autoRotateSpeed', 0.1, 10, 0.01)
gui.add(material, 'wireframe')
gui.add(directionLightHelper, 'visible').name('directionLightHelper visible')

接入物理引擎
创建物理引擎世界,并将设置地球的重力加速度
/**
 * Physics
 */
const world = new CANNON.World()
world.gravity.set(0, -9.82, 0)
创建物体
因为在场景中已经有了一个球体,现在我们需要在 Cannon.js 的 world 中也创建一个球体。
我们需要使用其 Body 类,它可以自由落体并和其他 body 进行碰撞。
在创建 body 之前,我们要先定义一个 shape。
const sphereShape = new CANNON.Sphere(1)
const sphereBody = new CANNON.Body({
  mass: 1,
  position: new CANNON.Vec3(0, 3, 0),
  shape: sphereShape,
})
world.addBody(sphereBody)
什么都没有发生。接下来我们需要将 Cannon.js 的世界与 Three.js 的场景相结合
与 Three.js 的场景相结合
首先我们为了获取 deltaTime,在 requestAnimationFrame 增加如下逻辑。
// Animations
const clock = new THREE.Clock()
let oldElapsedTime = 0
const tick = () => {
  stats.begin()
  controls.update()

  const elapsedTime = clock.getElapsedTime()
  const deltaTime = elapsedTime - oldElapsedTime
  oldElapsedTime = elapsedTime
  console.log(deltaTime)

  // Render
  renderer.render(scene, camera)
  stats.end()
  requestAnimationFrame(tick)
}

tick()
为了更新物体位置,我们要使用 step() 函数。其背后的逻辑稍有复杂,本文不详细深究,详情可以查看这篇文章 Fix Your Timestep!。
我们设置 cannon world 的 step 函数,并将 Three.js 的小球与 Cannon.js 中的小球位置关联
const tick = () => {
  // ...

  world.step(1 / 60, deltaTime, 3)

  // @ts-ignore
  sphere.position.copy(sphereBody.position)

  // ...
}
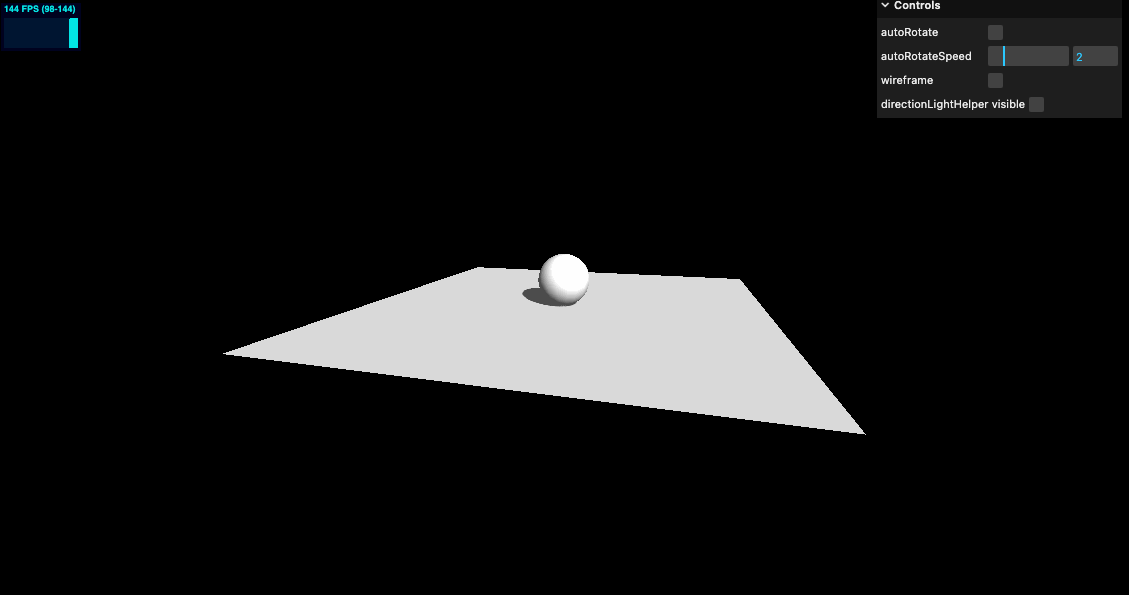
注意这里2个库的 vector3 类型不完全相同,我们暂时使用 @ts-ignore 忽视掉 ts 报错。效果如下

可以看到小球已经进行自由落体了!
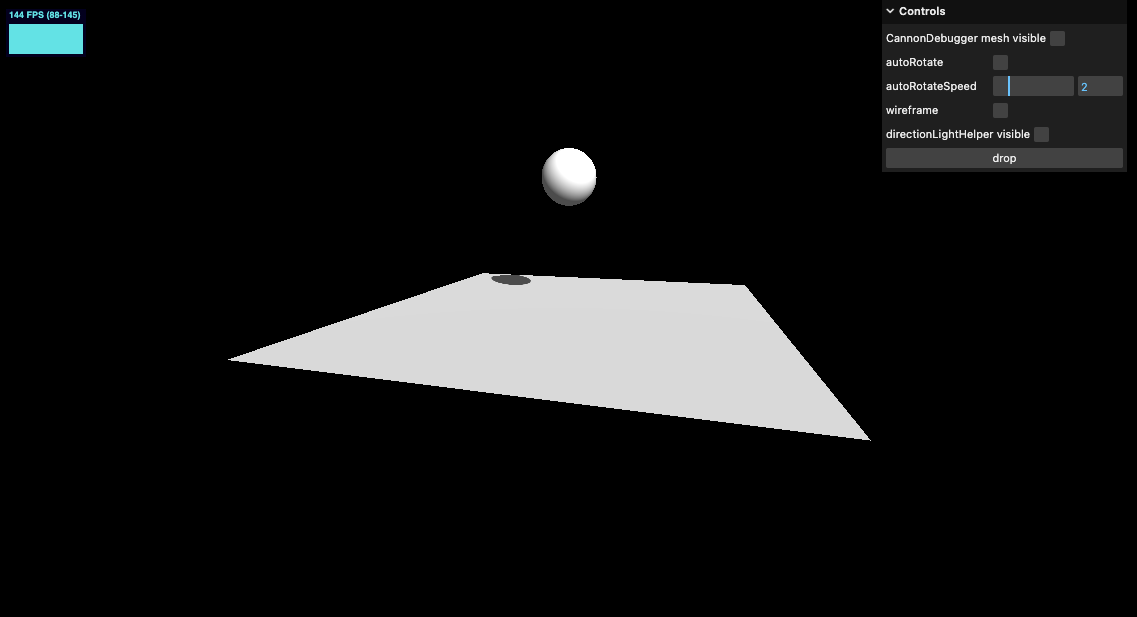
增加地板碰撞
首先增加地板的 Body
// floor
const floorShape = new CANNON.Plane()
const floorBody = new CANNON.Body()
floorBody.mass = 0
floorBody.addShape(floorShape)
world.addBody(floorBody)
mass 为 0 表示固定在这里。
然后还要将地板的位置进行旋转。在 Cannon 中没有旋转的 api,必须使用四元数进行操作。
floorBody.quaternion.setFromAxisAngle(new CANNON.Vec3(1, 0, 0), -Math.PI / 2)
对 floorBody 的四元数 quaternion 设置角度,第一个入参为所延的轴向,第二个参数为旋转的角度。效果如下

碰撞材质
看到上述的 demo 小球碰撞到平面后就几乎静止了,接下来我们深入研究一下碰撞材质的问题,可以让小球进行弹跳。
我们需要创建2个物体个字的材质,以及这2个物体材质之间的弹性摩擦关系。其实核心在于材质之间的关系。所以我们甚至可以只创建一种默认材质,并定义好其关系即可。
ContactMaterial 的第三个参数中 friction 表示摩擦力,restitution 为弹性,1 为回弹到原始位置。
const defaultMaterial = new CANNON.Material('default')
const defaultContactMaterial = new CANNON.ContactMaterial(defaultMaterial, defaultMaterial, {
  friction: 0.1,
  restitution: 0.7,
})
world.addContactMaterial(defaultContactMaterial)
别忘了将其加入到 world 中。然后给2个物体赋予默认材质
const sphereBody = new CANNON.Body({
  mass: 1,
  position: new CANNON.Vec3(0, 3, 0),
  shape: sphereShape,
  material: defaultMaterial,
})
floorBody.material = defaultMaterial
效果如下
在线 demo 链接
可扫码访问

Cannon-es
cannon.js 开发的时间比较早,使用的是 JavaScript 实现,且几乎没有更新,而 cannon-es 是 fork 了原有的 cannon 并且使用 ts 实现,另外文档也看着比较清晰。接下来我们就用 cannon-es.js 修改上述的 demo。
文档 https://pmndrs.github.io/cannon-es/docs/
npm i -S cannon-es
import * as CANNON from 'cannon-es'
比较方便的是我们可以使用这个方法
world.fixedStep()
来替换 world.step() 其内部处理了每帧 step 的逻辑。
并且可以加入 cannon-es-debugger 来展示模型的物理世界的轮廓
// cannonDebugger
const cannonMeshes: THREE.Mesh[] = []
const cannonDebugger = CannonDebugger(scene, world, {
  onInit(body, mesh) {
    mesh.visible = false
    cannonMeshes.push(mesh)
  },
})
gui.add(guiObj, 'CannonDebugger').name('CannonDebugger mesh visible').onChange((value: boolean) => {
  if (value) {
    cannonMeshes.forEach((item) => {
      item.visible = true
    })
  } else {
    cannonMeshes.forEach((item) => {
      item.visible = false
    })
  }
})

在线 demo 链接
可扫码访问

施加外力 Apply Forces
- applyForce 施加作用力。可以用作风吹动树叶,或推倒多米诺骨牌或愤怒的小鸟的受力
- applyImpulse 施加冲量。这个冲量是瞬间的,例如射出去的子弹。
- applyLocalForce 同 applyForce,不过是在物体的内部施力,对刚体的局部点施力。
- applyLocalImpulse 同 applyImpulse,不过是在物体的内部施加冲量,对刚体的局部点施加冲量。
例如我们增加如下代码
sphereBody.applyForce(new CANNON.Vec3(100, 0, 0), new CANNON.Vec3(0, 0, 0))
效果如下

处理多个物体
处理1个或2个物体相对简单,但如果处理非常多的物体是可能就会比较麻烦了。我们创建一个物体生成的函数进行处理。
首先我们将之前的球体先移除掉。并创建一个函数 createSphere 用于同时创建 Three.js 中的小球和 Cannon 中的小球
const createSphere = (radius: number, position: THREE.Vector3) => {
  // Three.js mesh
  const mesh = new THREE.Mesh(
    new THREE.SphereGeometry(radius, 32, 32),
    new THREE.MeshStandardMaterial(),
  )
  mesh.castShadow = true
  mesh.position.copy(position)
  scene.add(mesh)

  // Cannon body
  const shape = new CANNON.Sphere(radius)
  const body = new CANNON.Body({
    mass: 1,
    shape,
    material: defaultMaterial,
  })
  // @ts-ignore
  body.position.copy(position)
  world.addBody(body)
}

createSphere(1, new THREE.Vector3(0, 5, 0))
可以看到小球静止在空中,这是因为我们还没有在 requestAnimationFrame 添加更新位置的逻辑
先不着急,我们将一组需要更新的对象放入一个数组中
const objectsToUpdate: Array<{
  mesh: THREE.Mesh
  body: CANNON.Body
}> = []

const createSphere = (radius: number, position: THREE.Vector3) => {
  // ...
  objectsToUpdate.push({
    mesh,
    body,
  })
  // ...
}

guiObj.createSphere = () => {
  createSphere(
    Math.random(),
    new THREE.Vector3((Math.random() - 1) * 3, 5, (Math.random() - 1) * 3),
  )
}
可以通过 debug gui 控制增加小球了,效果如下
还可以通过 debugger 观察物体的轮廓

为了提升性能,可以考虑将几何体只创建一个,如果传入不同半径,则使用 scale 方法进行修改
const sphereGeometry = new THREE.SphereGeometry(1, 32, 32)
const createSphere = (radius: number, position: THREE.Vector3) => {
  // Three.js mesh
  const mesh = new THREE.Mesh(sphereGeometry, material)
  mesh.castShadow = true
  mesh.scale.set(radius, radius, radius)
  mesh.position.copy(position)
  scene.add(mesh)
  // ...
}
增加立方体
与增加球体类似
// Boxes
const boxGeometry = new THREE.BoxGeometry()
const createBoxes = (width: number, height: number, depth: number, position: THREE.Vector3) => {
  // Three.js mesh
  const mesh = new THREE.Mesh(boxGeometry, material)
  mesh.castShadow = true
  mesh.scale.set(width, height, depth)
  mesh.position.copy(position)
  scene.add(mesh)

  // Cannon body
  const shape = new CANNON.Box(new CANNON.Vec3(width * 0.5, height * 0.5, depth * 0.5))
  const body = new CANNON.Body({
    mass: 1,
    shape,
    material: defaultMaterial,
  })
  // @ts-ignore
  body.position.copy(position)
  world.addBody(body)
  objectsToUpdate.push({
    mesh,
    body,
  })
}
guiObj.createBox = () => {
  createBoxes(
    Math.random(),
    Math.random(),
    Math.random(),
    new THREE.Vector3((Math.random() - 0.5) * 8, 5, (Math.random() - 0.5) * 8),
  )
}
另外别忘了需要在 requestAnimationFrame 中增加四元数(quaternion)的同步,主要是为了立方体的旋转。
// Animations
const tick = () => {
  // ...
  objectsToUpdate.forEach((object) => {
    // @ts-ignore
    object.mesh.position.copy(object.body.position)
    // @ts-ignore
    object.mesh.quaternion.copy(object.body.quaternion)
  })

  // ...
}
效果如下

在线 demo 链接
可扫码访问

性能优化
碰撞检测 collision detection 中的宽相 Broadphase
检测物体之间碰撞,每次每个物体互相检查是一个非常消耗性能的场景。这就需要宽相(Broadphase)了,它通过负责的算法在检测碰撞之前,将物体分类,如果2个物体相距太远,根本不会发生碰撞,它们可能就不在同一个分类里,计算机也不需要进行碰撞计算检测。
- NaiveBroadphase Cannon 默认的算法。检测物体碰撞时,一个基础的方式是检测每个物体是否与其他每个物体发生了碰撞
- GridBroadphase 网格检测。轴对齐的均匀网格 Broadphase。将空间划分为网格,网格内进行检测。
- SAPBroadphase(Sweep-and-Prune) 扫描-剪枝算法,性能最好。背后算法太过复杂,后续如果我有时间和精力,会单独写一篇关于碰撞检测的专题文章。
默认为 NaiveBroadphase,建议替换为 SAPBroadphase
world.broadphase = new CANNON.SAPBroadphase(world)
Sleep
虽然我们使用了 Broadphase 算法来优化了物体的碰撞检测,但是仍然是对所有物体进行了检测。我们可以使用一个特性叫 sleep。当物体的速度非常非常满的时候,肉眼已经无法察觉其在运动,那么就可以让这个物体 sleep,不参与碰撞检测,直到它被外力击中或其他物体碰撞到它。
world.allowSleep = true
Events 事件
我们可以监听 Body 上的事件。如果需要在碰撞时发出声音这将非常有用。可以监听的事件有 ‘collide’, ‘sleep’ or ‘wakeup’ 等
我们首先增加音频
/**
 * Sounds
 */
const hitSound = new Audio('../assets/sounds/hit.mp3')
const playHitSound = (collision: { contact: CANNON.ContactEquation }) => {
  const impactStrength = collision.contact.getImpactVelocityAlongNormal()
  if (impactStrength > 1.5) {
    hitSound.volume = Math.random()
    hitSound.currentTime = 0
    hitSound.play()
  }
}
注意这里 impactStrength 碰撞力度我们设置了个阈值,太低时不发出声音。并将每次发声时间都归零。
再在创建球和立方体的地方增加监听
body.addEventListener('collide', playHitSound)
如果你打开电脑或手机的的声音,效果很好。
移除物体
增加 reset 方法
guiObj.reset = () => {
  objectsToUpdate.forEach((object) => {
    // Remove body
    object.body.removeEventListener('collide', playHitSound)
    world.removeBody(object.body)
    // Remove mesh
    scene.remove(object.mesh)
  })
  objectsToUpdate.splice(0, objectsToUpdate.length)
}

// ...

gui.add(guiObj, 'reset')
可以方便的移除物体

小结
本节学习了物理引擎。了解了常见的3d和2d物理引擎,并对 Cannon 做了深入学习。学习了如何将物理世界与 Three.js 场景相结合。学习了物理引擎中的材质,以及2种材质发生关系时的配置。又学习了物理引擎中施加外力,碰撞检测。以及相应的性能优化。并监听了碰撞事件,并增加了声音效果。最后增加了移除物体的 reset 按钮。学习了非常多的内容。但针对物理引擎还仅仅是皮毛。后续小伙伴们可以深入研究学习物理引擎的其他能力,并可以看看 Cannon 官网的各种 demo。加油!
下一节将学习如何导入一个3d模型。