本系列为 Three.js journey 教程学习笔记。
接下来,我们学习一下如何使用粒子,本节将开发一个银河生成器,使用粒子效果生成各种各样的银河效果。
创建粒子
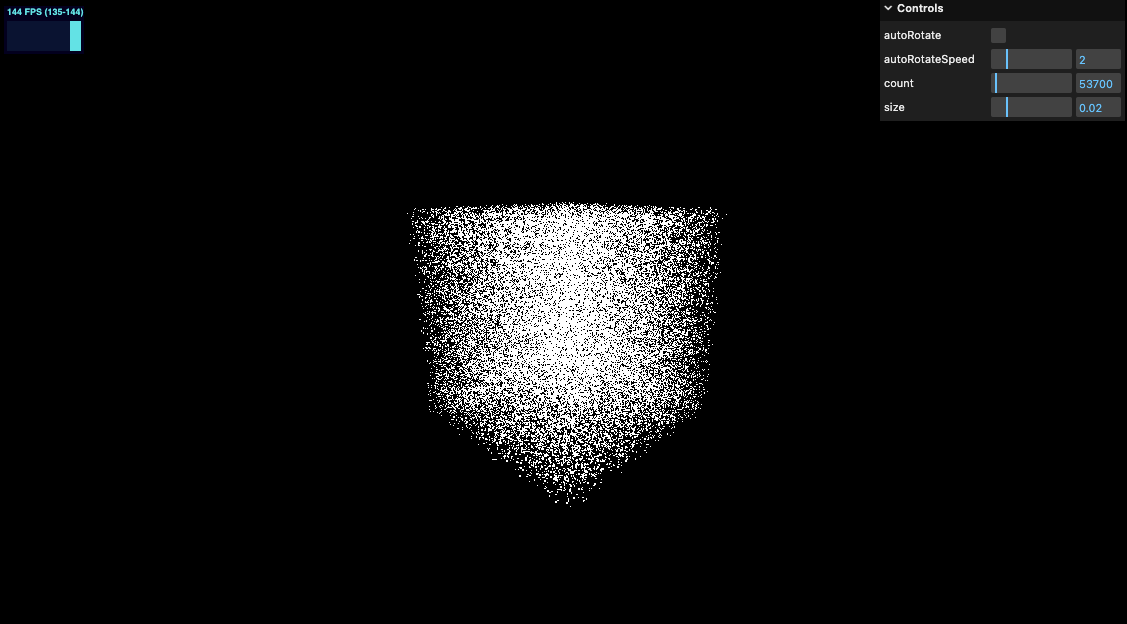
根据上一节创建一个粒子立方体,并加入 debug UI,设置尺寸和数量
import * as THREE from 'three'
import './style.css'
import { OrbitControls } from 'three/examples/jsm/controls/OrbitControls'
import * as dat from 'lil-gui'
import stats from '../common/stats'
import { listenResize, dbClkfullScreen } from '../common/utils'

// Canvas
const canvas = document.querySelector('#mainCanvas') as HTMLCanvasElement

// Scene
const scene = new THREE.Scene()

// Size
const sizes = {
  width: window.innerWidth,
  height: window.innerHeight,
}

// Camera
const camera = new THREE.PerspectiveCamera(75, sizes.width / sizes.height, 0.1, 100)
camera.position.set(4, 1.8, 4)

const controls = new OrbitControls(camera, canvas)
controls.enableDamping = true
controls.zoomSpeed = 0.3

/**
 * Galaxy
 */
const parameters = {
  count: 1000,
  size: 0.02,
}

let geometry: THREE.BufferGeometry
let material: THREE.PointsMaterial
let points: THREE.Points<THREE.BufferGeometry, THREE.PointsMaterial>

const generatorGalaxy = () => {
  if (points) {
    geometry.dispose()
    material.dispose()
    scene.remove(points)
  }

  // Geometry
  geometry = new THREE.BufferGeometry()
  const position = new Float32Array(parameters.count * 3)
  for (let i = 0; i < parameters.count; i += 1) {
    const i3 = i * 3
    position[i3] = (Math.random() - 0.5) * 3
    position[i3 + 1] = (Math.random() - 0.5) * 3
    position[i3 + 2] = (Math.random() - 0.5) * 3
  }
  geometry.setAttribute('position', new THREE.BufferAttribute(position, 3))

  // Material
  material = new THREE.PointsMaterial({
    size: parameters.size,
    sizeAttenuation: true,
    depthWrite: false,
    blending: THREE.AdditiveBlending,
  })

  points = new THREE.Points(geometry, material)
  scene.add(points)
}

generatorGalaxy()

// Renderer
const renderer = new THREE.WebGLRenderer({
  canvas,
})
renderer.setSize(sizes.width, sizes.height)
renderer.setPixelRatio(Math.min(window.devicePixelRatio, 2))

listenResize(sizes, camera, renderer)
dbClkfullScreen(document.body)

// Animations
const tick = () => {
  stats.begin()

  controls.update()

  // Render
  renderer.render(scene, camera)
  stats.end()
  requestAnimationFrame(tick)
}

tick()

/**
 * Debug
 */
const gui = new dat.GUI()

gui.add(controls, 'autoRotate')
gui.add(controls, 'autoRotateSpeed', 0.1, 10, 0.01)

gui.add(parameters, 'count', 100, 1000000, 100).onFinishChange(generatorGalaxy)
gui.add(parameters, 'size', 0.001, 0.1, 0.001).onFinishChange(generatorGalaxy)
形状
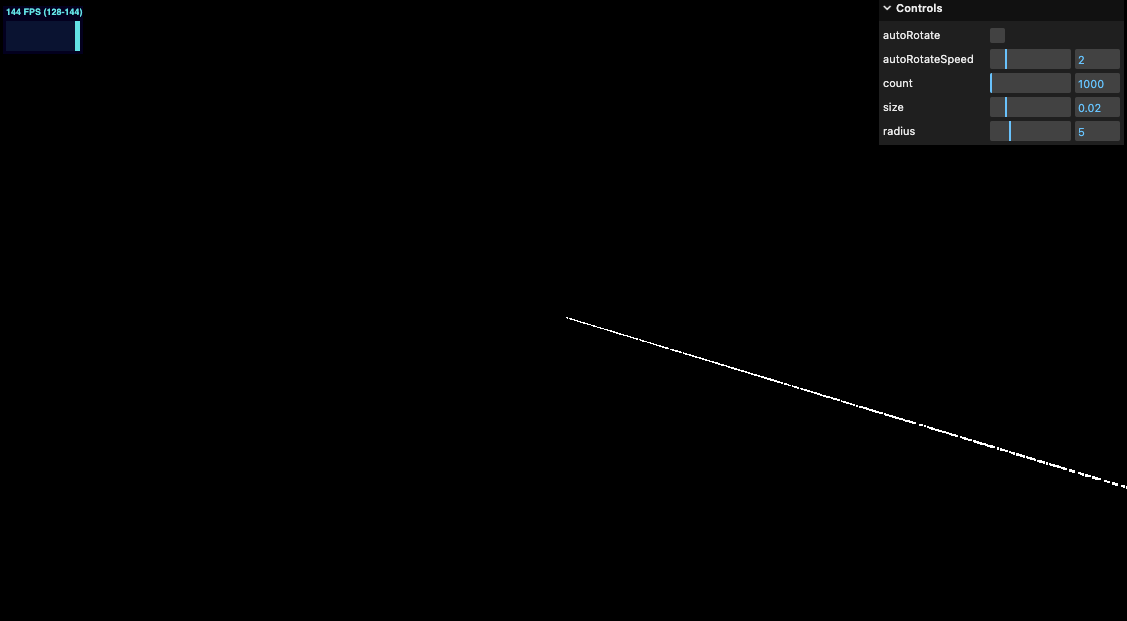
半径
增加半径配置参数
/**
 * Galaxy
 */
const parameters = {
  count: 1000,
  size: 0.02,
  radius: 5,
}
沿着 x 轴半径内随机渲染
  // Geometry
  geometry = new THREE.BufferGeometry()
  const position = new Float32Array(parameters.count * 3)
  for (let i = 0; i < parameters.count; i += 1) {
    const i3 = i * 3
    const radius = Math.random() * parameters.radius
    position[i3] = radius
    position[i3 + 1] = 0
    position[i3 + 2] = 0
  }
  geometry.setAttribute('position', new THREE.BufferAttribute(position, 3))
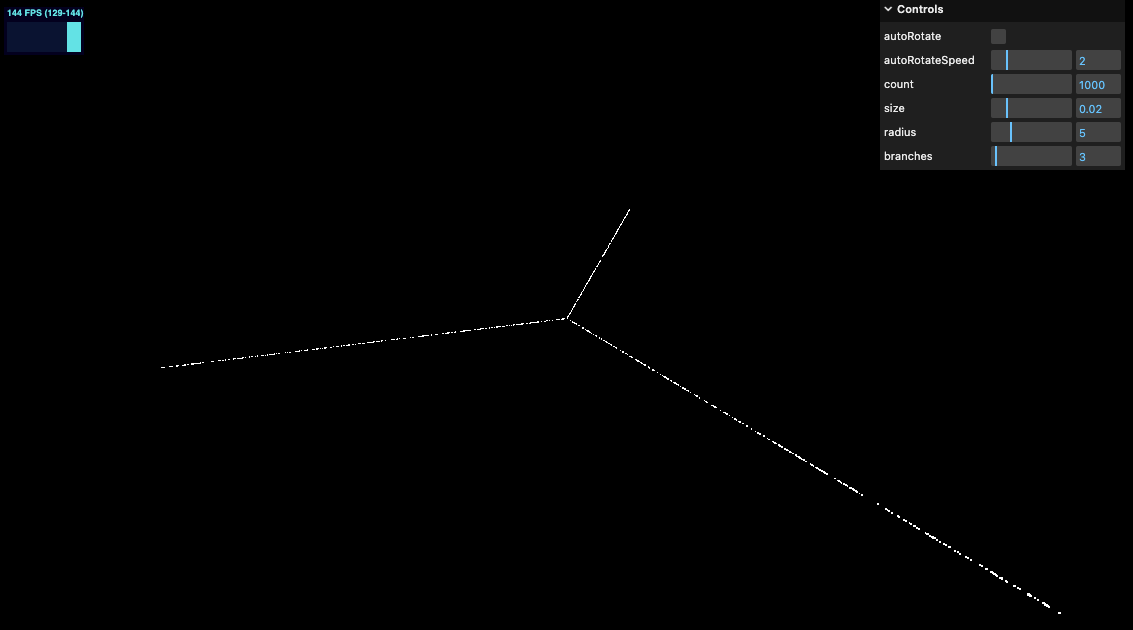
分支
增加配置
/**
 * Galaxy
 */
const parameters = {
  count: 1000,
  size: 0.02,
  radius: 5,
  branches: 3,
}
修改点的位置
  // Geometry
  geometry = new THREE.BufferGeometry()
  const position = new Float32Array(parameters.count * 3)
  for (let i = 0; i < parameters.count; i += 1) {
    const i3 = i * 3
    const radius = Math.random() * parameters.radius
    const branchesAngle = ((i % parameters.branches) / parameters.branches) * Math.PI * 2
    position[i3] = Math.cos(branchesAngle) * radius
    position[i3 + 1] = 0
    position[i3 + 2] = Math.sin(branchesAngle) * radius
  }
  geometry.setAttribute('position', new THREE.BufferAttribute(position, 3))
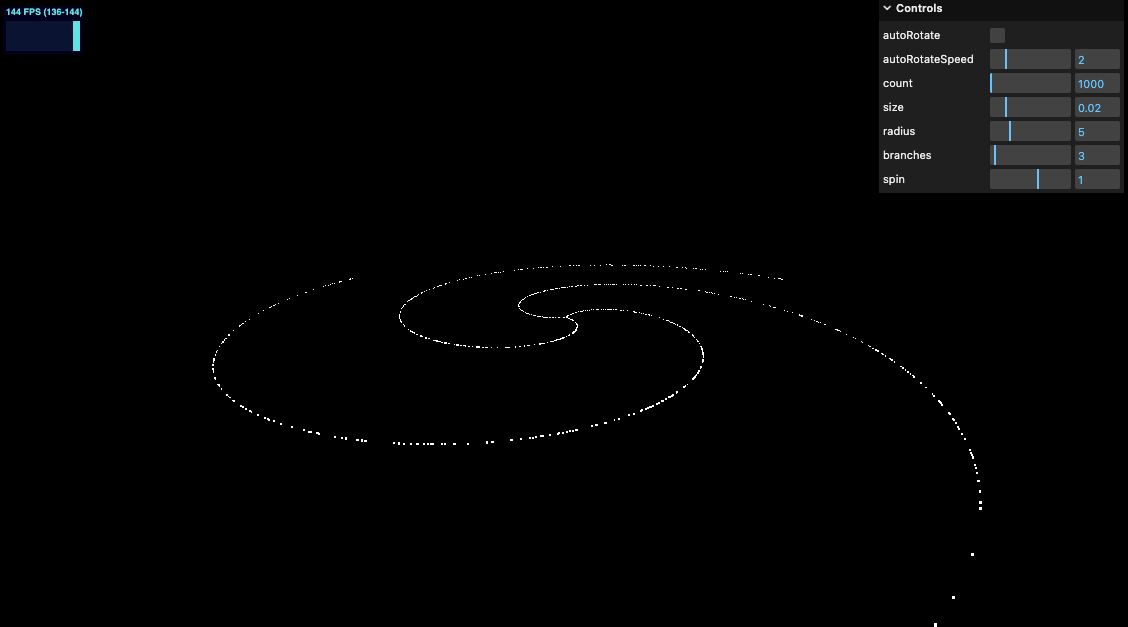
偏转角度
增加配置
/**
 * Galaxy
 */
const parameters = {
  count: 1000,
  size: 0.02,
  radius: 5,
  branches: 3,
  spin: 1,
}
增加偏转角度
  // Geometry
  geometry = new THREE.BufferGeometry()
  const position = new Float32Array(parameters.count * 3)
  for (let i = 0; i < parameters.count; i += 1) {
    const i3 = i * 3
    const radius = Math.random() * parameters.radius
    const branchesAngle = ((i % parameters.branches) / parameters.branches) * Math.PI * 2
    const spinAngle = radius * parameters.spin

    position[i3] = Math.cos(branchesAngle + spinAngle) * radius
    position[i3 + 1] = 0
    position[i3 + 2] = Math.sin(branchesAngle + spinAngle) * radius
  }
  geometry.setAttribute('position', new THREE.BufferAttribute(position, 3))
随机扩散
增加如下代码
randomness: 0.2,
    const randomX = (Math.random() - 0.5) * parameters.randomness * radius
    const randomY = (Math.random() - 0.5) * parameters.randomness * radius
    const randomZ = (Math.random() - 0.5) * parameters.randomness * radius

    position[i3] = Math.cos(branchesAngle + spinAngle) * radius + randomX
    position[i3 + 1] = randomY
    position[i3 + 2] = Math.sin(branchesAngle + spinAngle) * radius + randomZ
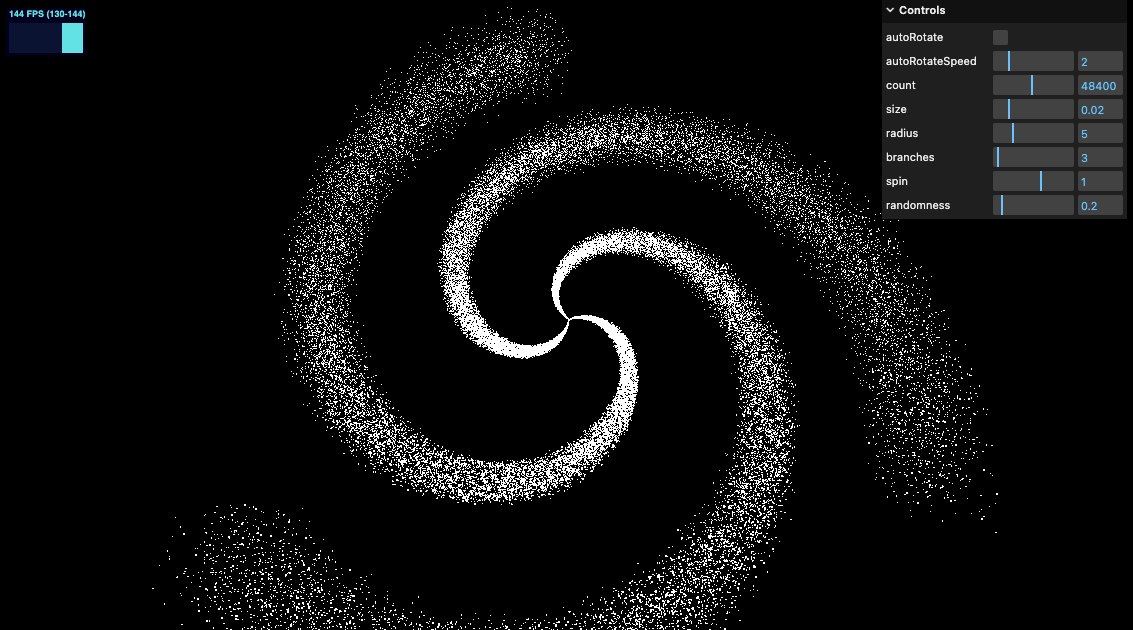
但仔细看效果还不是很好,我们借助幂函数来提升效果
randomnessPower: 3,
    const randomX = Math.random() ** parameters.randomnessPower
      * (Math.random() < 0.5 ? 1 : -1)
      * parameters.randomness
      * radius
    const randomY = Math.random() ** parameters.randomnessPower
      * (Math.random() < 0.5 ? 1 : -1)
      * parameters.randomness
      * radius
    const randomZ = Math.random() ** parameters.randomnessPower
      * (Math.random() < 0.5 ? 1 : -1)
      * parameters.randomness
      * radius
效果好多了

颜色
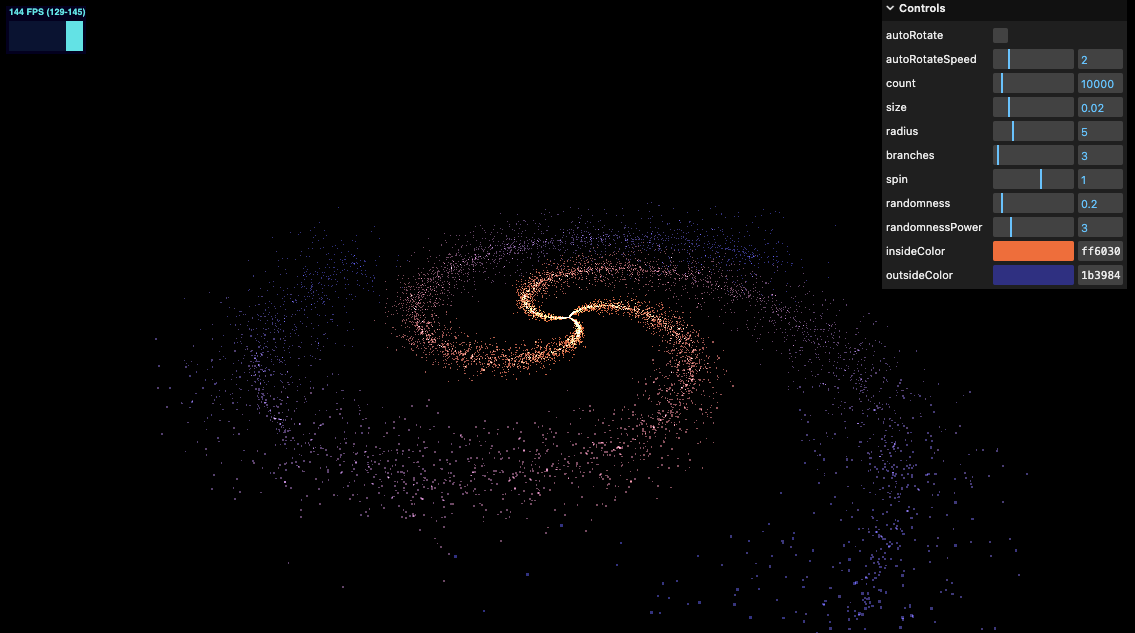
为了有更好的效果我们添加渐变色的感觉
  insideColor: '#ff6030',
  outsideColor: '#1b3984',
gui.addColor(parameters, 'insideColor').onFinishChange(generatorGalaxy)
gui.addColor(parameters, 'outsideColor').onFinishChange(generatorGalaxy)
我们要为每个顶点设置颜色,所以需要将 vertexColors 设置为 true
  // Material
  material = new THREE.PointsMaterial({
    size: parameters.size,
    sizeAttenuation: true,
    depthWrite: false,
    blending: THREE.AdditiveBlending,
    vertexColors: true,
  })
然后添加颜色属性,如上一节课学习的那样
  const position = new Float32Array(parameters.count * 3)
  const colors = new Float32Array(parameters.count * 3)
  for (let i = 0; i < parameters.count; i += 1) {

    ...

    colors[i3] = 1
    colors[i3 + 1] = 0
    colors[i3 + 2] = 0
  }
  geometry.setAttribute('color', new THREE.BufferAttribute(colors, 3))

接下来设置渐变色
.lerp ( color : Color, alpha : Float ) : this
color - 用于收敛的颜色。 alpha - 介于0到1的数字。
将该颜色的RGB值线性插值到传入参数的RGB值。alpha参数可以被认为是两种颜色之间的比例值,其中0是当前颜色和1.0是第一个参数的颜色。
.lerpColors ( color1 : Color, color2 : Color, alpha : Float ) : this
color1 - 开始的颜色。 color2 - 结束收敛的颜色。 alpha - 介于0到1的数字。
    const mixedColor = colorInside.clone()
    mixedColor.lerp(colorOutside, radius / parameters.radius)

    ...

    colors[i3] = mixedColor.r
    colors[i3 + 1] = mixedColor.g
    colors[i3 + 2] = mixedColor.b
最终效果如下
在线 demo 链接
可扫码访问

小结
本节我们学习了如何设置各种debug参数,来调节我们的银河效果。对粒子特效有了更深入的研究。动画部分我们会在后续的课程中再详细学习。