本系列为 Three.js journey 教程学习笔记。
Scroll based animation 基于页面滚动的动画
本节我们将学习基于页面滚动的动画。很好的将之前所学的内容做一个复习和运用。
我们会把 WebGL 部分固定到页面中,随着页面的滚动 WebGL 中也随之相应的产生动画效果。这种联动的效果会带来非常好的体验,并且也会让你的页面看起来很高级很有未来感。联动的效果主要是使用 camera 的角度变化来实现。并且最后会加入一些滚动到某个区域后的动画效果。
准备
因为我们使用固定视角的相机,所以 OrbitControls 就不再需要了。我们需要设置一些 HTML 内容,并且撑满屏幕高度
HTML 结构如下
<!DOCTYPE html>
<html lang="en">
  <head>
    <meta charset="UTF-8" />
    <meta name="viewport" content="width=device-width, initial-scale=1.0" />
    <meta http-equiv="X-UA-Compatible" content="ie=edge" />
    <title>scroll based animation</title>
  </head>

  <body>
    <canvas id="mainCanvas" class="webgl"></canvas>
    <section class="section">
      <h1>Hello</h1>
    </section>
    <section class="section">
      <h2>My projects</h2>
    </section>
    <section class="section">
      <h2>Contact me</h2>
    </section>
    <script src="<%= path %>" charset="utf-8"></script>
  </body>
</html>
CSS 代码如下,我们设置了页面背景色,设置 section 高度为 100vh,设置好布局
body {
  margin: 0;
  padding: 0;
  background-color: #263238;
}

.webgl {
  position: fixed;
  top: 0;
  left: 0;
  outline: none;
}

.section {
  padding-left: 10%;
  padding-right: 10%;
  display: flex;
  align-items: center;
  height: 100vh;
  font-size: 7vmin;
  position: relative;
  color: #fff;
}

section:nth-child(odd) {
  justify-content: flex-end;
}
一个可以滚动的页面就完成了
我们在 ts 文件中再绘制一个基础的小立方体和灯光
import * as THREE from 'three'
import './style.css'
import * as dat from 'lil-gui'
import stats from '../common/stats'
import { listenResize, dbClkfullScreen } from '../common/utils'

// Canvas
const canvas = document.querySelector('#mainCanvas') as HTMLCanvasElement

// Scene
const scene = new THREE.Scene()

// Size
const sizes = {
  width: window.innerWidth,
  height: window.innerHeight,
}

// Camera
const camera = new THREE.PerspectiveCamera(75, sizes.width / sizes.height, 0.1, 100)
camera.position.set(0, 0, 6)

/**
 * Objects
 */
const cube = new THREE.Mesh(new THREE.BoxGeometry(1, 1, 1), new THREE.MeshStandardMaterial())
scene.add(cube)

const directionLight = new THREE.DirectionalLight()
directionLight.position.set(1.5, 1, 1)
const ambientLight = new THREE.AmbientLight(new THREE.Color('#ffffff'), 0.2)
scene.add(ambientLight, directionLight)

const directionLightHelper = new THREE.DirectionalLightHelper(directionLight, 2)
scene.add(directionLightHelper)

// Renderer
const renderer = new THREE.WebGLRenderer({
  canvas,
  antialias: true,
  alpha: true,
})
renderer.setSize(sizes.width, sizes.height)
renderer.setPixelRatio(Math.min(window.devicePixelRatio, 2))

listenResize(sizes, camera, renderer)
dbClkfullScreen(document.documentElement)

// Animations
const tick = () => {
  stats.begin()
  // Render
  renderer.render(scene, camera)
  stats.end()
  requestAnimationFrame(tick)
}

tick()

/**
 * Debug
 */
const gui = new dat.GUI()
gui.add(directionLightHelper, 'visible').name('directionLightHelper visible')
效果如下
物体
几何体
我们将原有的立方体移除,使用 Three.js 内置的 圆环 TorusGeometry、圆锥 ConeGeometry 和圆环扭结 TorusKnotGeometry
// Meshes
const mesh1 = new THREE.Mesh(
  new THREE.TorusGeometry(1, 0.4, 16, 60),
  new THREE.MeshBasicMaterial({ color: '#ff0000' }),
)
const mesh2 = new THREE.Mesh(
  new THREE.ConeGeometry(1, 2, 32),
  new THREE.MeshBasicMaterial({ color: '#ff0000' }),
)
const mesh3 = new THREE.Mesh(
  new THREE.TorusKnotGeometry(0.8, 0.35, 100, 16),
  new THREE.MeshBasicMaterial({ color: '#ff0000' }),
)

scene.add(mesh1, mesh2, mesh3)
效果如下
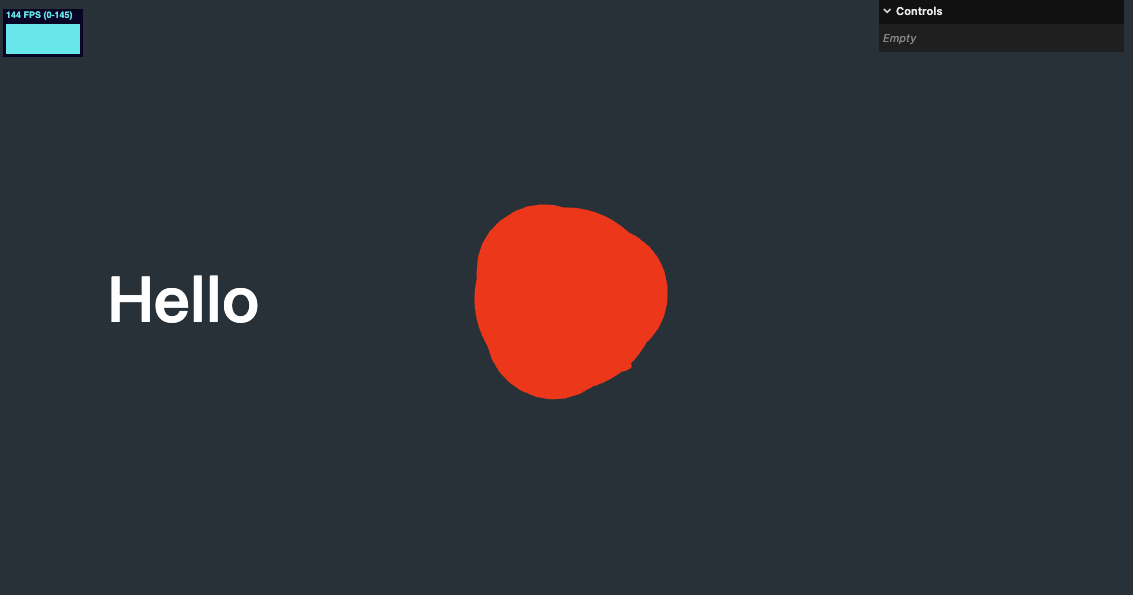
别着急,随后我们修改几何体的为位置和相机视角
接下来我们设置材质
材质
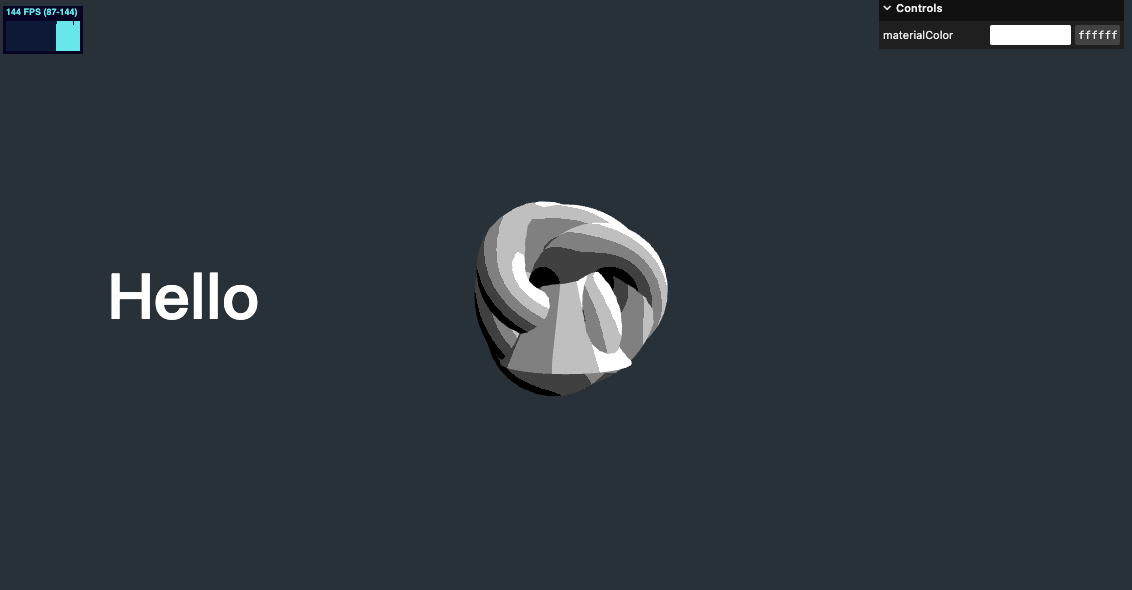
我们使用卡通材质
// Material
const material = new THREE.MeshToonMaterial({ color: parameters.materialColor })

// Meshes
const mesh1 = new THREE.Mesh(new THREE.TorusGeometry(1, 0.4, 16, 60), material)
const mesh2 = new THREE.Mesh(new THREE.ConeGeometry(1, 2, 32), material)
const mesh3 = new THREE.Mesh(new THREE.TorusKnotGeometry(0.8, 0.35, 100, 16), material)

scene.add(mesh1, mesh2, mesh3)
灯光
我们把刚刚移除的灯光重新加回来
/**
 * Lights
 */
const directionalLight = new THREE.DirectionalLight('#ffffff', 1)
directionalLight.position.set(1, 1, 0)
scene.add(directionalLight)
const ambientLight = new THREE.AmbientLight('#ffffff', 0.28)
scene.add(ambientLight)
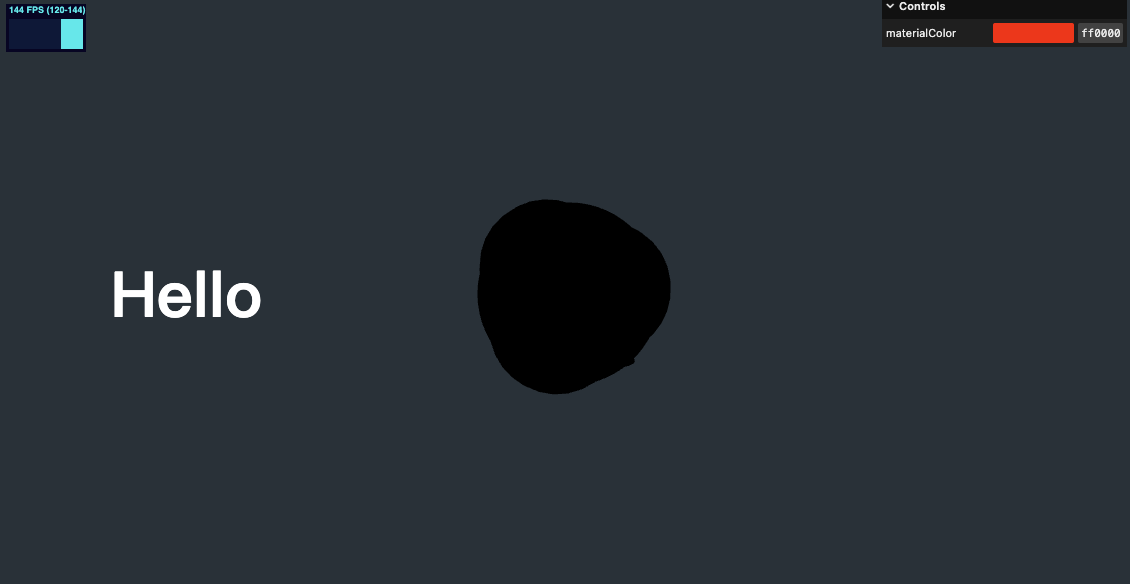
现在效果好多了
const gui = new dat.GUI()
gui.addColor(parameters, 'materialColor').onChange(() => {
  material.color.set(parameters.materialColor)
})
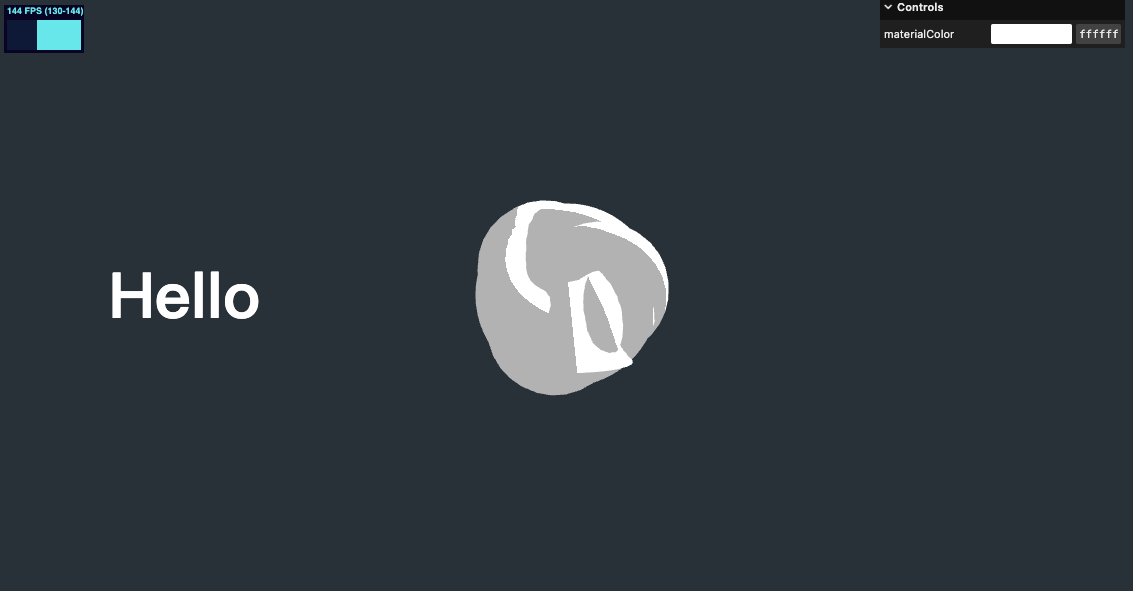
增加 gui 就可以在右上角调节颜色了
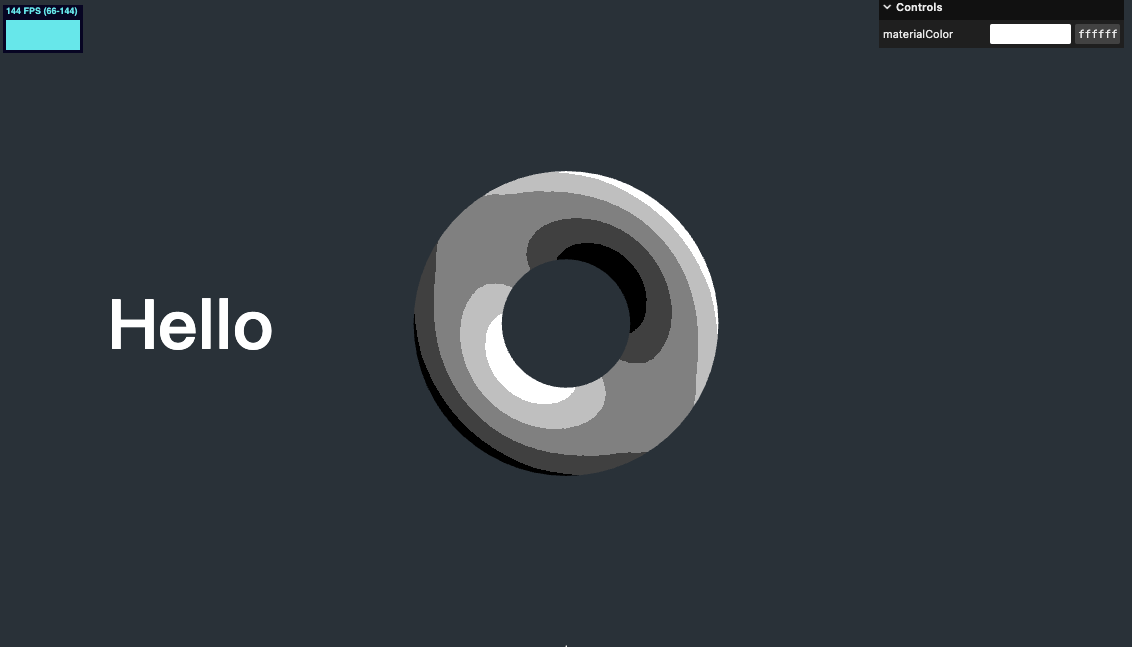
Gradient texture 渐变纹理
// Texture
const textureLoader = new THREE.TextureLoader()
const gradientTexture = textureLoader.load('https://gw.alicdn.com/imgextra/i1/O1CN01Kv3xWT1kImpSDZI8n_!!6000000004661-0-tps-5-1.jpg')
gradientTexture.magFilter = THREE.NearestFilter

// Material
const material = new THREE.MeshToonMaterial({
  color: parameters.materialColor,
  gradientMap: gradientTexture,
})
这个 gradientMap 图片为5个像素点灰阶图片。如下图

这里注意 magFilter 的使用,如果遗忘了复习 Three.js 之 6 Texture 纹理。
位置
Three.js 默认是根据竖直方向的高度定相机视野适配的,高度等比适配
例如我设置如下代码
mesh1.position.y = 4
mesh1.scale.set(0.5, 0.5, 0.5)

mesh2.visible = false

mesh3.position.y = -4
mesh3.scale.set(0.5, 0.5, 0.5)
不管怎么移动窗口,可以看到2个物体距顶部和底部的距离比例不变。如下图

我们移除刚才的测试代码
声明一个物体距离
const objectsDistance = 4
并设置在每个物体上
mesh1.position.y = -objectsDistance * 0
mesh2.position.y = -objectsDistance * 1
mesh3.position.y = -objectsDistance * 2
现在我们只能看到第一个物体
增加一些物体的自转
将几何体放入数组
const sectionMeshes: THREE.Mesh<THREE.BufferGeometry, THREE.MeshToonMaterial>[] = [
  mesh1,
  mesh2,
  mesh3,
]
再一起加入动画
// Animations
const clock = new THREE.Clock()
const tick = () => {
  stats.begin()

  const elapsedTime = clock.getElapsedTime()
  // Animate meshes
  sectionMeshes.forEach((mesh) => {
    mesh.rotation.set(elapsedTime * 0.1, elapsedTime * 0.12, 0)
  })

  // Render
  renderer.render(scene, camera)
  stats.end()
  requestAnimationFrame(tick)
}
效果如下
相机与滚动
接下来我们要添加随着页面滚动相机也进行位置变化的效果
首先我们要监听页面的滚动
/**
 * Scroll
 */
let { scrollY } = window
window.addEventListener('scroll', () => {
  scrollY = window.scrollY
  console.log(scrollY)
})
可以看到 log 里已经有了滚动距离
接下来在 requestAnimationFrame 中控制对相机的移动,这里需要注意的是相机的位置移动比例
// Animations
const tick = () => {
  // ...

  // animate camera
  camera.position.setY((-scrollY / sizes.height) * objectsDistance)

  // ...
}
HTML 页面滚动距离与相机需要位移的距离相反,因此要添加负号。-scrollY / sizes.height 表示设置相机移动的每个区域为了 1 个单位。但几何体实际位置是 objectsDistance 单位距离,所以最终为 -scrollY / sizes.height) * objectsDistance。
效果如下
几何体水平位置修改
我们将几何体水平位置稍做移动,以适配文字,并将之前对 y 值设置的代码也可以放在这个 for 循环里
sectionMeshes.forEach((item, index) => {
  item.position.setY(-objectsDistance * index)
  item.position.setX(index % 2 === 0 ? 2 : -2)
})
视差效果
我们再增加一点视差效果,当鼠标移动时,几何体的位置稍微进行一点点偏移,更有沉浸感。
我们沿用上一节学到的监听鼠标移动
/**
 * Mouse
 */
const mouse: {
  x: number | null
  y: number | null
} = { x: null, y: null }

window.addEventListener('mousemove', (event) => {
  mouse.x = (event.clientX / sizes.width) * 2 - 1
  mouse.y = -(event.clientY / sizes.height) * 2 + 1
})
我们不能直接在 requestAnimationFrame 再修改 camera 的位置,因为之前已经设置过了滚动时相机的位移,我们不能覆盖这个位移,所以可以用一个取巧的方式,给相机增加一个 group,移动 group 达到再增加一个位移的效果
// Group
const cameraGroup = new THREE.Group()
scene.add(cameraGroup)
// Camera
const camera = new THREE.PerspectiveCamera(75, sizes.width / sizes.height, 0.1, 100)
camera.position.set(0, 0, 4)
cameraGroup.add(camera)
// Animations
const tick = () => {
  // ...

  if (mouse.x && mouse.y) {
    cameraGroup.position.setX(mouse.x)
    cameraGroup.position.setY(mouse.y)
  }

  // ...
}
效果如下
缓动效果
视察效果看起来不过,但是我们想让它表现更好,可以增加一些缓动效果,更符合弹性阻尼物理效果。
这里通过 deltaTime 来进行增量位移。需要特别注意的是不能在同一个 requestAnimationFrame 里同时使用 getElapsedTime 和 getDelta。因为 getElapsedTime 里也调用了 getDelta,这是一个危险的设计。详情见 issue THREE.clock.getElapsedTime has a side effect invalidating .getDelta() #5696
所以我们要自己计算 deltaTime 代码如下
// Animations
const clock = new THREE.Clock()
let previousTime = 0
const tick = () => {
  stats.begin()

  const elapsedTime = clock.getElapsedTime()
  const deltaTime = elapsedTime - previousTime
  previousTime = elapsedTime
  // const deltaTime2 = clock.getDelta()
  // console.log(deltaTime);
  // console.log(deltaTime2);
  // console.log('----');

  // Animate meshes
  sectionMeshes.forEach((mesh) => {
    mesh.rotation.set(elapsedTime * 0.1, elapsedTime * 0.12, 0)
  })

  // animate camera
  camera.position.setY((-scrollY / sizes.height) * objectsDistance)

  if (mouse.x && mouse.y) {
    const parallaxX = mouse.x * 0.5
    const parallaxY = mouse.y * 0.5
    cameraGroup.position.x += (parallaxX - cameraGroup.position.x) * 5 * deltaTime
    cameraGroup.position.y += (parallaxY - cameraGroup.position.y) * 5 * deltaTime
  }

  // Render
  renderer.render(scene, camera)
  stats.end()
  requestAnimationFrame(tick)
}
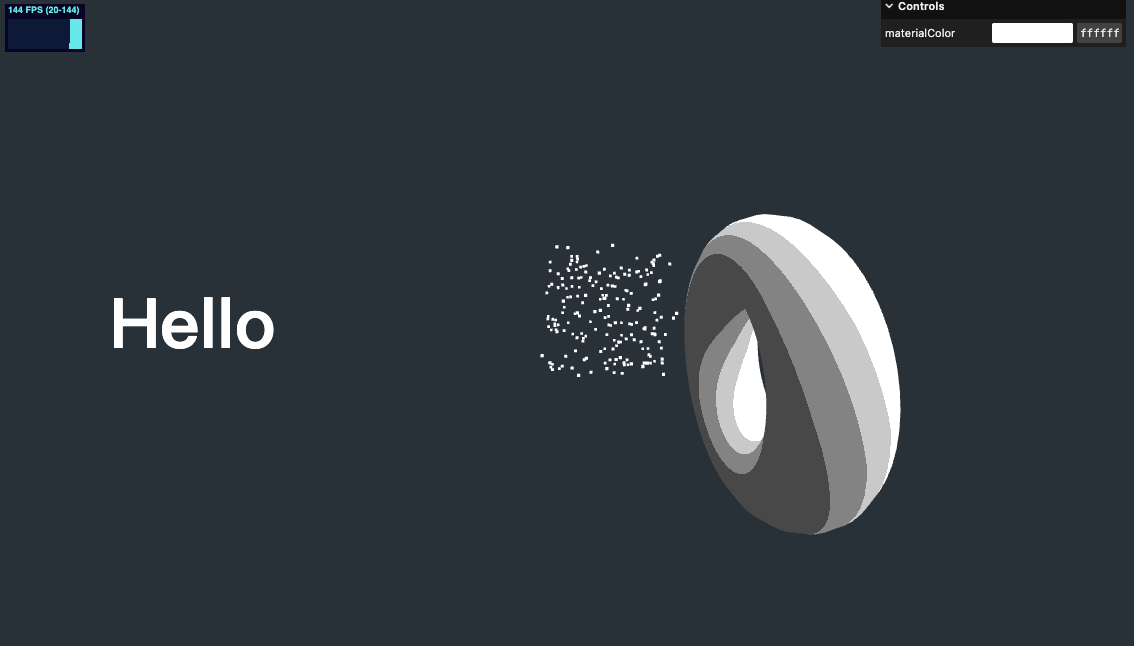
粒子效果
粒子效果可以带来更好的沉浸体验,所以我们增加一些粒子特效,感觉到这是一个有深度的空间。
运用之前所学的知识,先将粒子效果创建出来,暂时不管位置问题
/**
 * Particles
 */
// Geometry
const particlesCount = 200
const positions = new Float32Array(particlesCount * 3)
for (let i = 0; i < particlesCount; i += 1) {
  positions[i * 3 + 0] = Math.random()
  positions[i * 3 + 1] = Math.random()
  positions[i * 3 + 2] = Math.random()
}
const particlesGeometry = new THREE.BufferGeometry()
particlesGeometry.setAttribute('position', new THREE.BufferAttribute(positions, 3))
// Material
const particlesMaterial = new THREE.PointsMaterial({
  color: parameters.materialColor,
  sizeAttenuation: true,
  size: 0.03
})
// Points
const particles = new THREE.Points(particlesGeometry, particlesMaterial)
scene.add(particles)
效果如下
我们需要将粒子在空间内散布,所以可以将 x 和 z 轴设置的更加扩散一些。y 轴方向我们要让粒子扩散到每个 section
for (let i = 0; i < particlesCount; i += 1) {
  positions[i * 3 + 0] = (Math.random() - 0.5) * 10
  positions[i * 3 + 1] =
    objectsDistance * 0.5 - Math.random() * objectsDistance * sectionMeshes.length
  positions[i * 3 + 2] = (Math.random() - 0.5) * 10
}
滚动到区域时触发的动画
最后我们在做一些滚动到每个区域时触发的动画。我们在滚动到这个区域时,增加一些旋转动画。
/**
 * Scroll
 */
let { scrollY } = window
let currentSection = 0
window.addEventListener('scroll', () => {
  scrollY = window.scrollY
  const newSection = Math.round(scrollY / sizes.height)
  if (newSection !== currentSection) {
    currentSection = newSection
    console.log('changed', currentSection)
  }
})
借助 gsap 创建旋转动画
/**
 * Scroll
 */
let { scrollY } = window
let currentSection = 0
window.addEventListener('scroll', () => {
  scrollY = window.scrollY
  const newSection = Math.round(scrollY / sizes.height)
  if (newSection !== currentSection) {
    currentSection = newSection
    // console.log('changed', currentSection)
    gsap.to(sectionMeshes[currentSection].rotation, {
      duration: 1.5,
      ease: 'power2.inOut',
      x: '+=6',
      y: '+=3',
    })
  }
})
这里要注意,需要把原有的几何体自转从依赖 elapsedTime 改为 deltaTime
  // Animate meshes
  sectionMeshes.forEach((mesh) => {
    mesh.rotation.set(deltaTime * 0.1 + mesh.rotation.x, deltaTime * 0.1 + mesh.rotation.y, 0)
  })
效果如下
在线 demo 链接
可扫码访问

移动端适配
我们使用 CSS media query,针对纵向的手机屏幕进行适配。代码如下
/* Portrait */
@media screen and (orientation:portrait) {
  section {
    align-items: center;
    justify-content: flex-start;
  }
  section:nth-child(odd) {
    align-items: center;
  }
  h1 {
    font-size: 7vmin;
    color: #fff;
    margin-bottom: 40vh;
  }

  h2{
    font-size: 4vmin;
    color: #fff;
    margin-bottom: 6vh;
  }
}
在 js 中我们也可以简单的判断宽高,来确实是手机
const isPortrait = sizes.width < sizes.height
针对手机的视角进行微调
if (isPortrait) {
  camera.position.setZ(8)
  objectsDistance = 11
}

// ...

sectionMeshes.forEach((item, index) => {
  if (isPortrait) {
    item.position.setY(-objectsDistance * index)
  } else {
    item.position.setX(index % 2 === 0 ? 2 : -2)
    item.position.setY(-objectsDistance * index)
  }
})
在手机端我们使用设备陀螺仪检测,代替 mousemove 检测
if (isPortrait) {
  /**
   * device orientation
   */
  window.addEventListener('deviceorientation', (event) => {
    const { beta, gamma } = event
    if (beta !== null && gamma !== null) {
      const x = (gamma || 0) / 20 // -180 :: 180
      const y = (Math.min(beta || 0, 89) - 45) / 30 //  -90 :: 90
      console.log(x, y)
      mouse.x = x
      mouse.y = -y
    }
  })
} else {
  window.addEventListener('mousemove', (event) => {
    mouse.x = (event.clientX / sizes.width) * 2 - 1
    mouse.y = -(event.clientY / sizes.height) * 2 + 1
  })
}

iOS 监听陀螺仪无效问题
剩下的保持不变。执行上述代码后,你会发现在 iOS 设备上无效,这是因为 iOS 需要独立申请权限,需要使用 DeviceOrientationEvent.requestPermission()。我们修改代码
/**
 * device orientation
 */
const listenGyro = () => {
  window.addEventListener('deviceorientation', (event) => {
    const { beta, gamma } = event
    if (beta !== null && gamma !== null) {
      const x = (gamma || 0) / 20 // -180 :: 180
      const y = (Math.min(beta || 0, 89) - 45) / 30 //  -90 :: 90
      console.log(x, y)
      mouse.x = x
      mouse.y = -y
    }
  })
}

if (isPortrait) {
  if (
    typeof DeviceOrientationEvent !== 'undefined'
    // @ts-ignore
    && typeof DeviceOrientationEvent.requestPermission === 'function'
  ) {
    // @ts-ignore
    DeviceOrientationEvent.requestPermission()
      .then((permissionState: string) => {
        if (permissionState === 'granted') {
          // handle data
          listenGyro()
        } else {
          // handle denied
        }
      })
      .catch((err: any) => {
        console.log(err)
      })
  } else {
    listenGyro()
  }
} else {
  window.addEventListener('mousemove', (event) => {
    mouse.x = (event.clientX / sizes.width) * 2 - 1
    mouse.y = -(event.clientY / sizes.height) * 2 + 1
  })
}
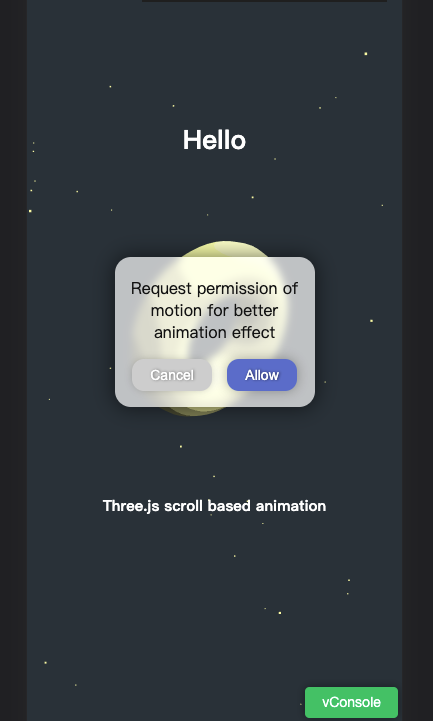
可以看到 iOS 依然无效,这是因为,iOS 设备必须通过用户点击的方式获取授权,不能载入页面自动申请权限。于是我们需要增加一个弹窗。代码如下
<div class="permissionDialog" id="permissionDialog" style="visibility: hidden">
  <div class="title">
    Request permission of motion for better animation effect
  </div>
  <div class="buttonArea">
    <button id="cancel">Cancel</button>
    <button id="allow">Allow</button>
  </div>
</div>
.permissionDialog {
  position: fixed;
  z-index: 999;
  left: 50%;
  top: 50%;
  margin-left: -100px;
  margin-top: -75px;
  width: 200px;
  height: 150px;
  background-color: rgba(255, 255, 255, 0.7);
  backdrop-filter: blur(4px);
  color: #111;
  border-radius: 16px;
  display: flex;
  flex-direction: column;
  align-items: center;
  box-shadow: 0 0 20px 2px rgba(0, 0, 0, 0.5);
}

.permissionDialog>.title {
  width: 90%;
  text-align: center;
  margin-top: 20px;
}

.permissionDialog>.buttonArea {
  margin-top: 16px;
  width: 90%;
  display: flex;
  justify-content: space-around;
}

.buttonArea>button {
  border: none;
  outline: none;
  box-shadow: 0px 0px 12px 0px rgba(0, 0, 0, 0.3);
  background-color: #4375cc;
  border-radius: 12px;
  display: inline-block;
  cursor: pointer;
  color: #ffffff;
  font-family: Arial;
  font-size: 14px;
  padding: 8px 18px;
  text-decoration: none;
  text-shadow: 1px 0px 3px #283966;

  -webkit-tap-highlight-color: transparent;
}

.buttonArea>button:active {
  position: relative;
  top: 1px;
}

#cancel {
  background-color: #cdcdcd;
  text-shadow: 1px 0px 3px rgba(0, 0, 0, 0.4);
  box-shadow: 0px 0px 10px -4px rgba(0, 0, 0, 0.5);
}
用户点击按钮时再进行申请权限
if (isPortrait) {
  if (
    typeof DeviceOrientationEvent !== 'undefined'
    // @ts-ignore
    && typeof DeviceOrientationEvent.requestPermission === 'function'
  ) {
    const permissionDialog = document.querySelector('#permissionDialog') as HTMLDivElement
    permissionDialog.style.visibility = 'visible'

    const allowBtn = document.querySelector('#allow') as HTMLButtonElement
    const cancelBtn = document.querySelector('#cancel') as HTMLButtonElement

    allowBtn.addEventListener('click', () => {
      // @ts-ignore
      DeviceOrientationEvent.requestPermission()
        .then((permissionState: string) => {
          console.log('permissionState', permissionState)
          if (permissionState === 'granted') {
            listenGyro()
          } else {
            // handle denied
          }
          permissionDialog.style.visibility = 'hidden'
        })
        .catch((err: any) => {
          console.log('permissionState catch', err)
          permissionDialog.style.visibility = 'hidden'
        })
    })

    cancelBtn.addEventListener('click', () => {
      permissionDialog.style.visibility = 'hidden'
    })
  } else {
    listenGyro()
  }
} else {
  window.addEventListener('mousemove', (event) => {
    mouse.x = (event.clientX / sizes.width) * 2 - 1
    mouse.y = -(event.clientY / sizes.height) * 2 + 1
  })
}
这样就解决了 iOS 无法调用陀螺仪的问题,只是每次需要用户手动点击授权。
增加 loading
我们需要修改 HTML 顺序,需要故意阻塞一下后续的 HTML 渲染,并增加一个占满全屏的 loading 的状态
<!DOCTYPE html>
<html lang="en">
  <head>
    <meta charset="UTF-8" />
    <meta name="viewport" content="width=device-width, initial-scale=1.0" />
    <meta http-equiv="X-UA-Compatible" content="ie=edge" />
    <title>scroll based animation</title>
  </head>

  <body style="background-color: #263238;color: #fff; font-family: sans-serif;">
    <canvas id="mainCanvas" class="webgl"></canvas>
    <div id="loading" style="width: 100vw;height: 100vh;display:flex;justify-content:center;align-items:center; position: fixed; top: 0;left: 0;background-color: #263238;transition: opacity 280ms ease;">loading...</div>
    <script src="<%= path %>" charset="utf-8"></script>

    <section class="section">
      <h1>Hello</h1>
      <h2>Three.js scroll based animation</h2>
    </section>
    <section class="section">
      <h1>My projects</h2>
      <h2>Sint sunt dolore architecto minima</h2>
    </section>
    <section class="section">
      <h1>Contact me</h2>
      <h2>Lorem ipsum dolor</h2>
    </section>
  </body>
</html>
使用 Three.js 中的 LoadingManager 处理移除 loading 的时机
const loadingManager = new THREE.LoadingManager()

loadingManager.onStart = () => {
  console.log('onStart')
}
loadingManager.onProgress = () => {
  console.log('onProgress')
}
loadingManager.onLoad = () => {
  console.log('onLoad')
  const loadingEle = document.querySelector('#loading') as HTMLDivElement
  loadingEle.style.opacity = '0'
  setTimeout(() => {
    loadingEle.style.display = 'none'
  }, 300)
}
loadingManager.onError = () => {
  console.log('onError')
}

// ...

const textureLoader = new THREE.TextureLoader(loadingManager)
这样就可以得到一个很好的 loading 效果了
在线 demo 链接
可扫码访问
小结
我们学习了如何将 WebGL 的视角与 HTML 页面的滚动相结合,复习了前面所学的知识。并增加了视差效果。又增加了移动端适配,以及最后又增加了 loading 效果,整体看起来非常棒!继续加油!