- typeface font
- Load the font
- Create TextGeometry
- Add a matcap material
- Add objects
- Animation
- GUI controls
- 小结
本系列为 Three.js journey 教程学习笔记。
本节将学习 3D Text,并做一个炫酷的 3D Text 展示页面。我们将使用 TextGeometry 文本缓冲几何体来实现。
typeface font
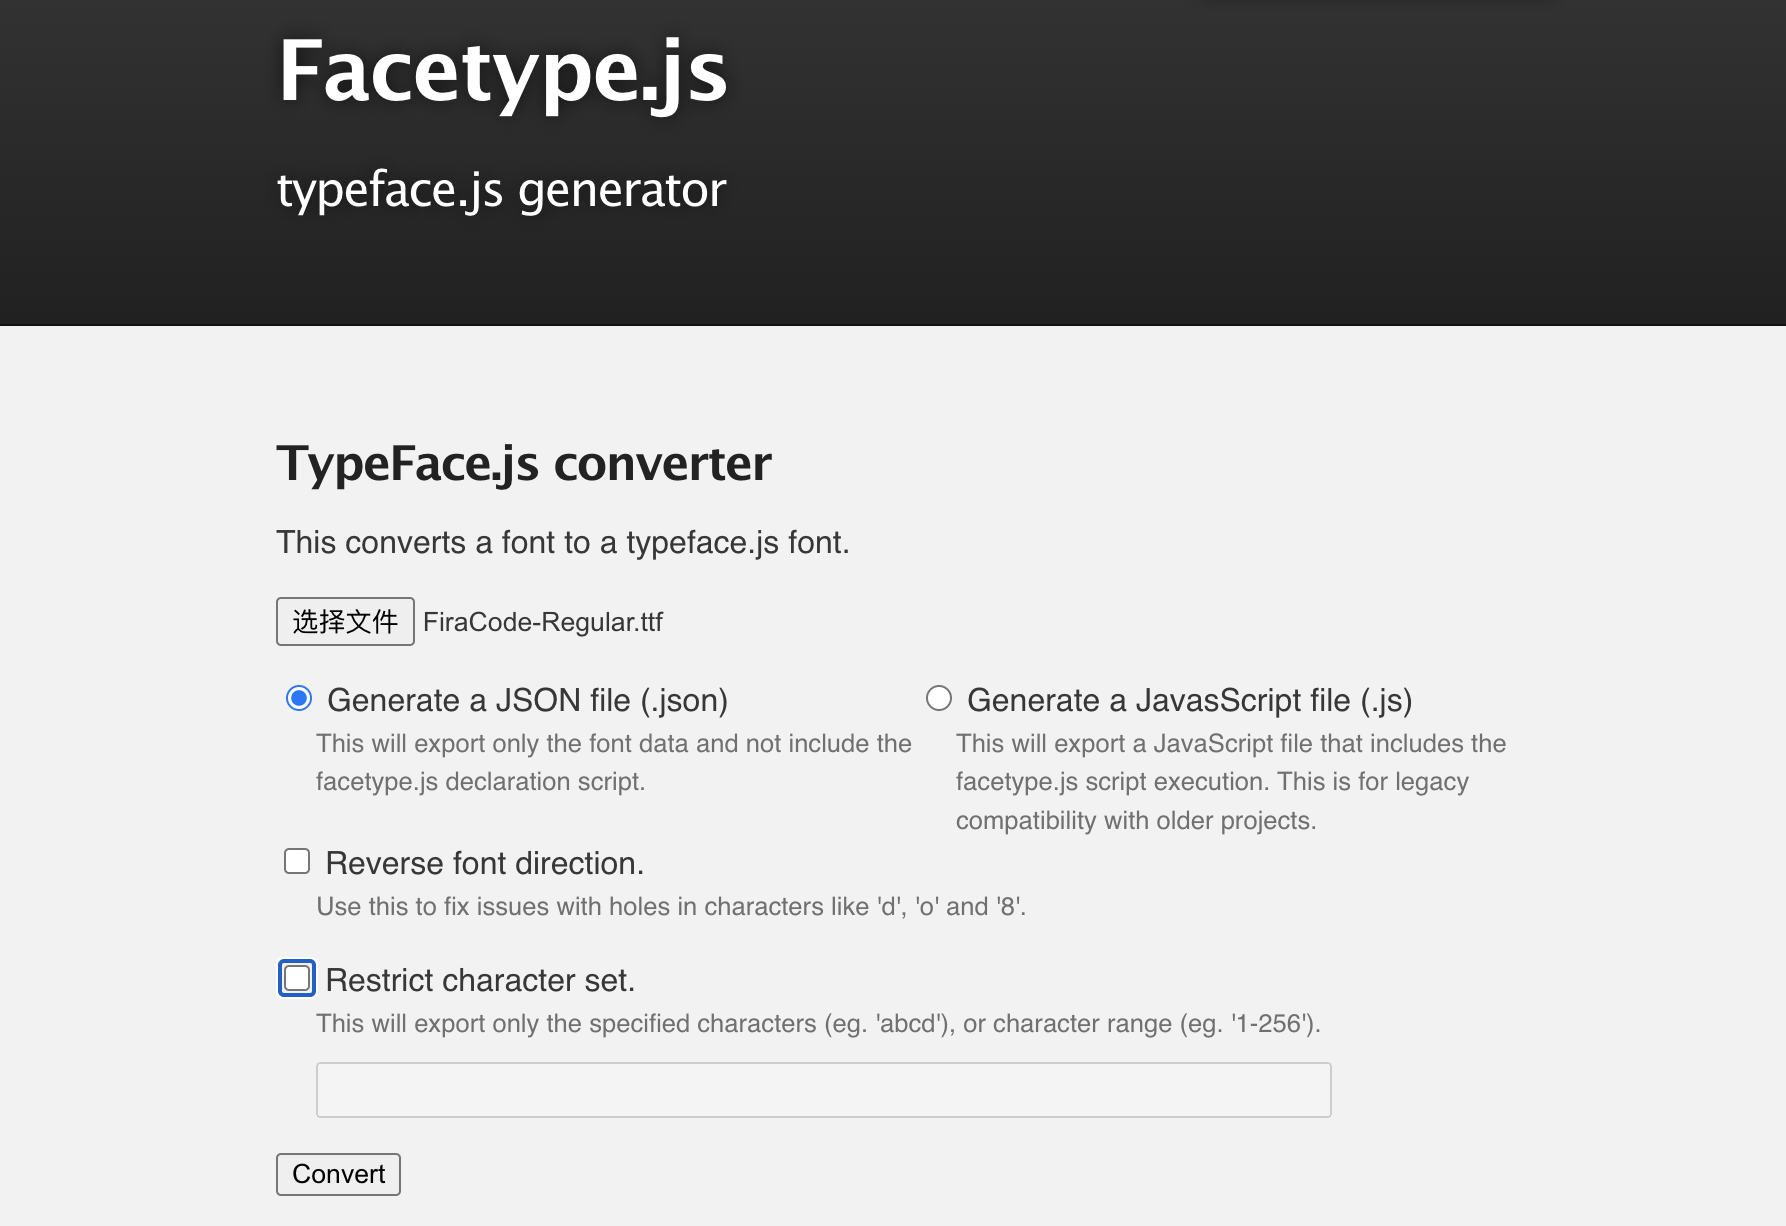
Three.js 内置了 FontLoader 来加载 json 格式字体。可以使用 facetype.js 在线转换 json 字体。

Load the font
import { FontLoader } from 'three/examples/jsm/loaders/FontLoader'
...
// Load font
const fontLoader = new FontLoader()
fontLoader.load(
  '../assets/fonts/Fira Code Medium_Regular.json',
  // onLoad回调
  (font) => {
    console.log('loaded', font)
  },
)

加载成功。接下来我们需要在成功回调里继续完成代码
Create TextGeometry
// Load font
const fontLoader = new FontLoader()
fontLoader.load(
  '../assets/fonts/Fira Code Medium_Regular.json',
  // onLoad回调
  (font) => {
    console.log('loaded', font)
    const textGeometry = new TextGeometry("Joe CS's three.js world!", {
      font,
      size: 0.5,
      height: 0.2,
      curveSegments: 12,
      bevelEnabled: true,
      bevelThickness: 0.03,
      bevelSize: 0.02,
      bevelOffset: 0,
      bevelSegments: 5,
    })

    const textMaterial = new THREE.MeshBasicMaterial()
    const text = new THREE.Mesh(textGeometry, textMaterial)
    scene.add(text)
  },
)

可以看到文字并没有在中间位置,我们需要居中展示
Center the text
居中的方式是计算几何体的立方体边界,再进行位移。
使用 BoxHelper 可以观察 bounding box
const box = new THREE.BoxHelper(text, 0xffff00)
scene.add(box)

于是我们使用 computeBoundingBox 获取 box 的尺寸,再进行位移,代码如下
textGeometry.computeBoundingBox() // 计算 box 边界
if (textGeometry.boundingBox) {
  textGeometry.translate(
    -textGeometry.boundingBox.max.x * 0.5, // Subtract bevel size
    -textGeometry.boundingBox.max.y * 0.5, // Subtract bevel size
    -textGeometry.boundingBox.max.z * 0.5, // Subtract bevel thickness
  )
}
可以看到完成了居中展示

当然还可以直接使用
textGeometry.center()
完整代码如下
import * as THREE from 'three'
import './style.css'
import { OrbitControls } from 'three/examples/jsm/controls/OrbitControls'
import { FontLoader } from 'three/examples/jsm/loaders/FontLoader'
import { TextGeometry } from 'three/examples/jsm/geometries/TextGeometry'
import stats from '../common/stats'
import { listenResize, dbClkfullScreen } from '../common/utils'

// Canvas
const canvas = document.querySelector('#mainCanvas') as HTMLCanvasElement

// Scene
const scene = new THREE.Scene()

// Load font
const fontLoader = new FontLoader()
fontLoader.load(
  '../assets/fonts/Fira Code Medium_Regular.json',
  // onLoad回调
  (font) => {
    console.log('loaded', font)
    const textGeometry = new TextGeometry("Joe CS's world!", {
      font,
      size: 0.5,
      height: 0.2,
      curveSegments: 12,
      bevelEnabled: true,
      bevelThickness: 0.03,
      bevelSize: 0.02,
      bevelOffset: 0,
      bevelSegments: 5,
    })

    const textMaterial = new THREE.MeshBasicMaterial()
    textMaterial.wireframe = true

    textGeometry.center() // 居中

    const text = new THREE.Mesh(textGeometry, textMaterial)
    scene.add(text)

    const box = new THREE.BoxHelper(text, 0xffff00)
    scene.add(box)
  },
)

// Size
const sizes = {
  width: window.innerWidth,
  height: window.innerHeight,
}

// Camera
const camera = new THREE.PerspectiveCamera(75, sizes.width / sizes.height, 0.1, 100)
camera.position.set(1, 2, 3)

const controls = new OrbitControls(camera, canvas)
controls.enableDamping = true

// Renderer
const renderer = new THREE.WebGLRenderer({
  canvas,
})
renderer.setSize(sizes.width, sizes.height)
renderer.setPixelRatio(Math.min(window.devicePixelRatio, 2))

dbClkfullScreen(canvas)
listenResize(sizes, camera, renderer)

// Animations
const tick = () => {
  stats.begin()

  controls.update()
  // Render
  renderer.render(scene, camera)
  stats.end()
  requestAnimationFrame(tick)
}

tick()

Add a matcap material
可以在 https://github.com/nidorx/matcaps 这里找到需要的纹理素材,如果商用,请确保版权。不需要特别高分辨率,256*256 足矣。
const textureLoader = new THREE.TextureLoader()
const matcapTexture = textureLoader.load('../assets/textures/matcaps/1.png')

const textMaterial = new THREE.MeshMatcapMaterial()
textMaterial.matcap = matcapTexture

Add objects
我们在添加一些几何体悬浮在周围。可以在 for 循环中创建各种几何体。
const donutGeometry = new THREE.TorusGeometry(0.3, 0.2, 20, 45)
const boxGeometry = new THREE.BoxGeometry(0.6, 0.6, 0.6)

for (let i = 0; i < 100; i += 1) {
  let mesh
  if (i % 10 <= 2) {
    mesh = new THREE.Mesh(boxGeometry, material)
  } else {
    mesh = new THREE.Mesh(donutGeometry, material)
  }
  mesh.position.set(
    (Math.random() - 0.5) * 10,
    (Math.random() - 0.5) * 10,
    (Math.random() - 0.5) * 10
  )
  mesh.setRotationFromEuler(
    new THREE.Euler(Math.PI * Math.random(), Math.PI * Math.random(), Math.PI * Math.random())
  )
  const radomeScale = Math.random() * 0.5 + 0.5
  mesh.scale.set(radomeScale, radomeScale, radomeScale)
  scene.add(mesh)
}

Animation
可以直接使用 OrbitControls 进行旋转
import { OrbitControls } from 'three/examples/jsm/controls/OrbitControls'
添加如下代码
const controls = new OrbitControls(camera, canvas)
controls.enableDamping = true
controls.autoRotate = true
controls.autoRotateSpeed = 0.4
别忘了在 requestAnimationFrame 中 update
// Animations
const tick = () => {
  stats.begin()

  controls.update()

  // Render
  renderer.render(scene, camera)
  stats.end()
  requestAnimationFrame(tick)
}

tick()
GUI controls
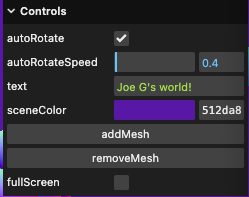
使用前面学到的 lil-gui 增加一些控制项,配置背景色

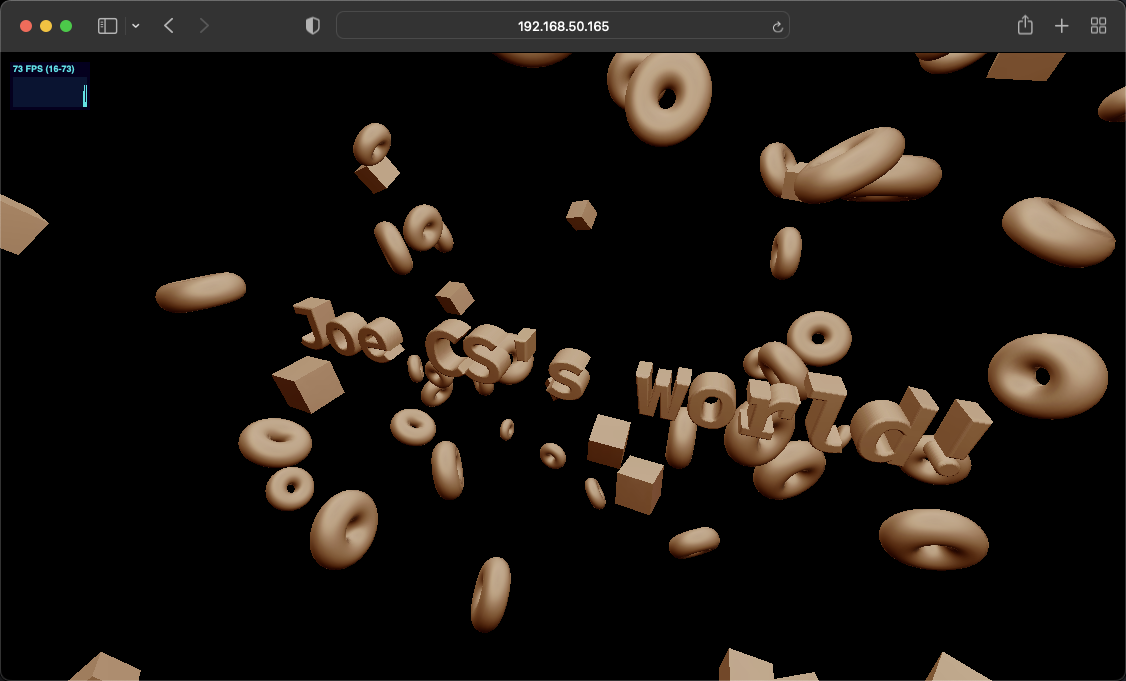
最终效果如下


在线 demo 链接
小结
本节我们算是做了第一个小作品。学习了 3D 文字,运用了之前学得材质、纹理、控制器等。keep going!